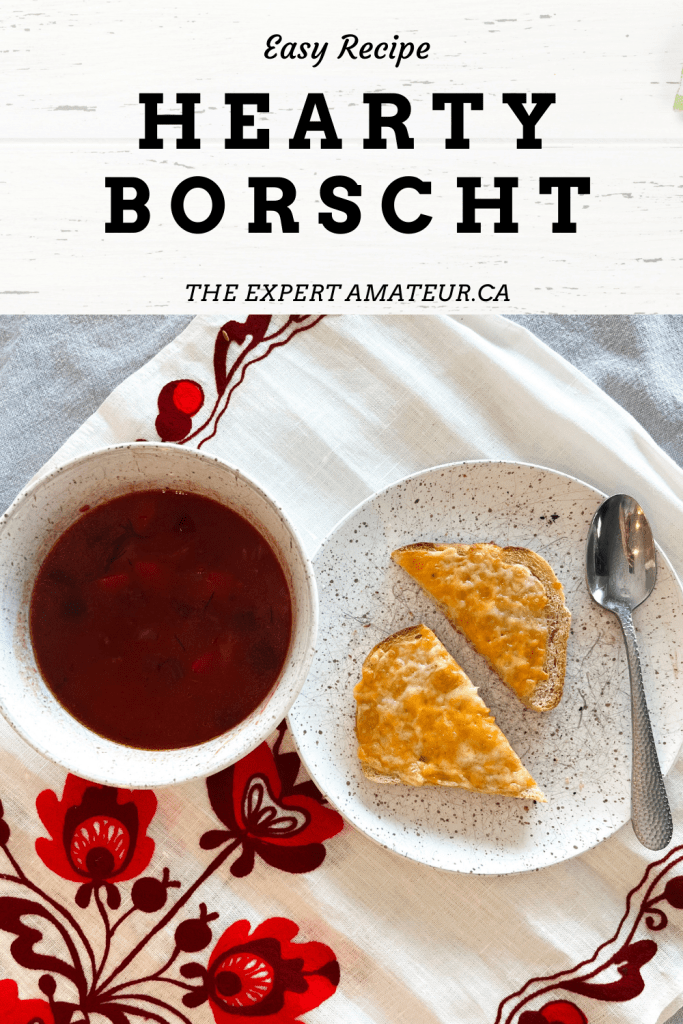
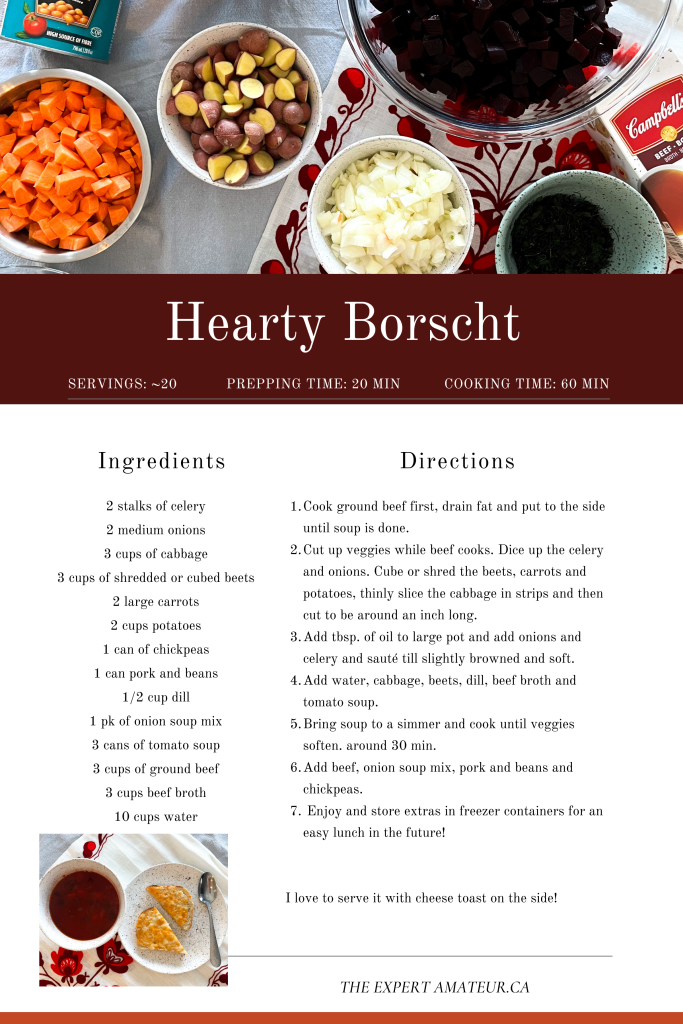
This is my favourite year round soup recipe. It was one of the first homemade soup recipes I made when I graduated high school and moved out. My wonderful Auntie made homemade soups whenever I visited and that started my soup love. I also married a Ukrainian and was shown a different style of borscht that had no meat and few veggies but a very rich and creamy broth. Over the years I have adapted my borscht recipe to a very be hearty with meat and veggies but also have a creamier broth and not only do I love it, but so does my husband and toddler.
I find it hard to get my daily intake of vegetables but this soup makes it so easy to eat lots of healthy veggies and beans. I try to keep a stock of it in my freezer at all times, as it is a quick lunch or supper, especially if I have family or friends over.
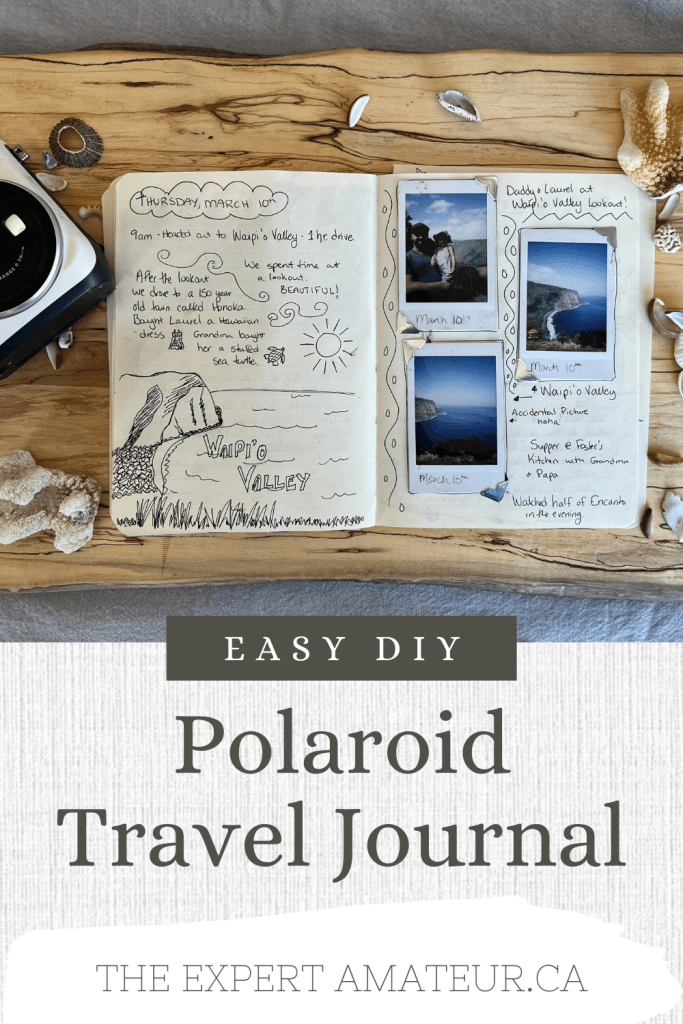
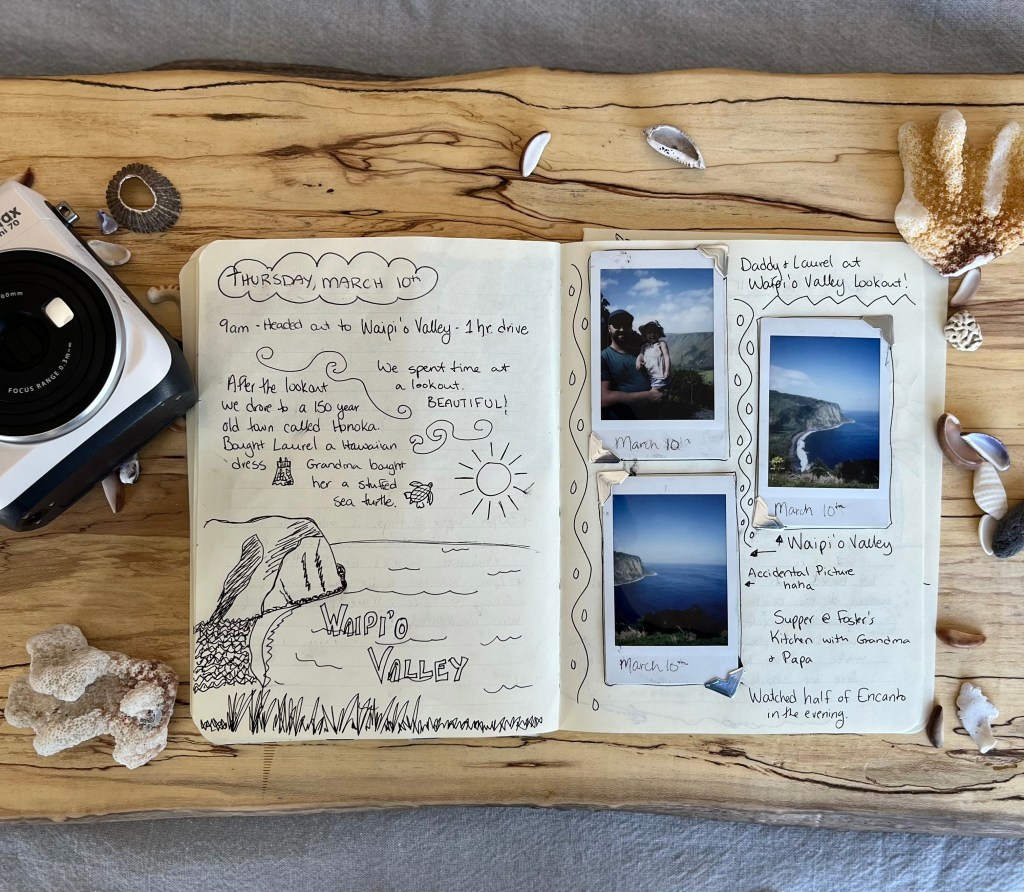
Who has time to journal?? Probably not many of us, but it is so special to read if you do take the time to write stuff down. I rarely journal in my day to day life but I do like to journal during holidays to remember all of the fun things we did!
For our wedding, Logan and I were gifted a polaroid camera and that started the polaroid journals. We went on an Alaskan cruise and I took a picture everyday and journaled about what we did. I made it fun and just wrote down random facts, quotes of the day, interesting excursions and food and lots of doodles and drawings. It was a fun way to reflect on the day and I have looked at the journal many times since, as well as sharing it with our family and friends.
This is the first big vacation since our honeymoon and so I wanted to create a journal of our time and I am so happy I did! The style of polaroid photos is so romantic. I love the way it looks.
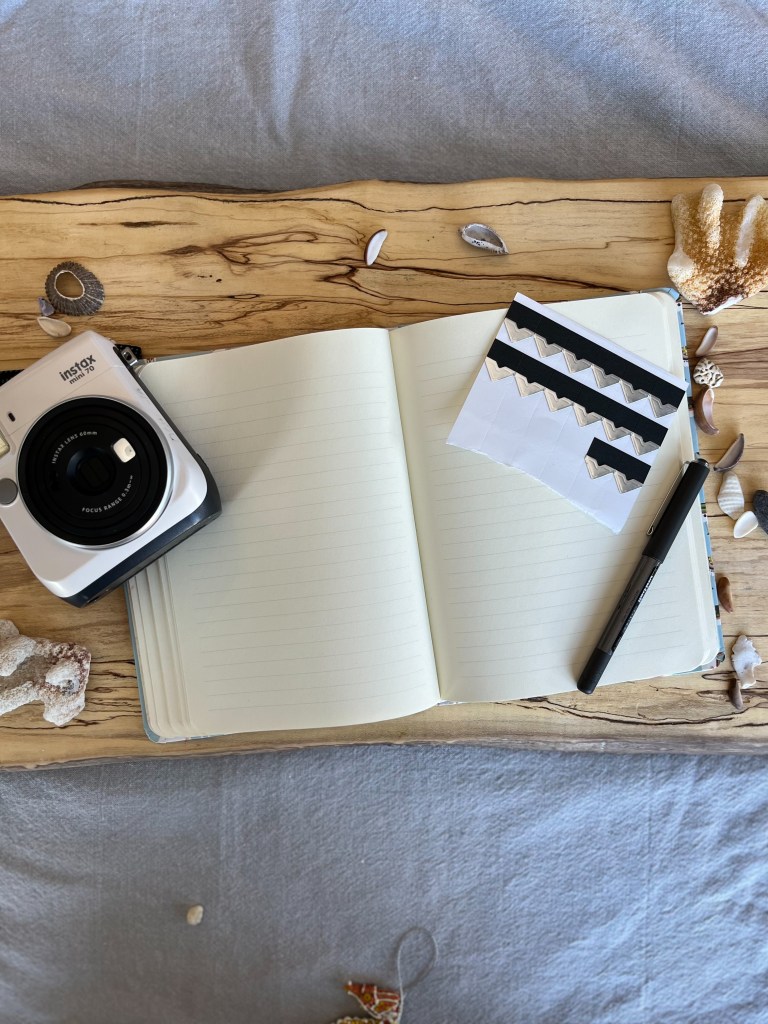
Pen – I prefer the fancy Uniball pens or coloured fine tip markers
Journal paper – I like writing my holiday diary in a journal as I am gone and then when I am home I rip it out and bind it together so that it’s on its own. This way, I don’t have a bunch of loose papers that I would likely lose while I travel.
Tape or Corner Stickers to attach your polaroids.
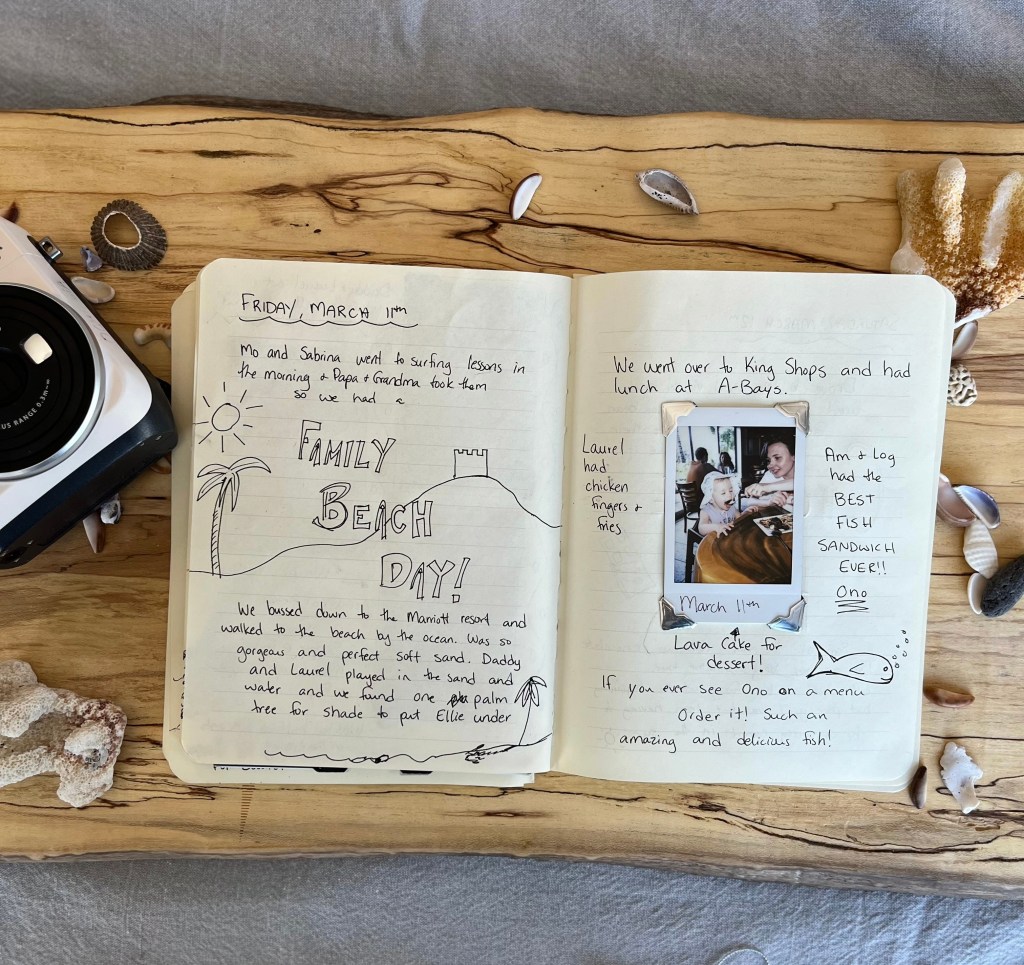
I found this project really fulfilling and now it is a great keepsake for my daughters to look back on when they are older, because, I sure won’t remember all the details in even a couple years haha. #mombrain
Here are a couple other examples of the pages I created!
Hope you make time to create a holiday journal of your own! Whatever it may look like.
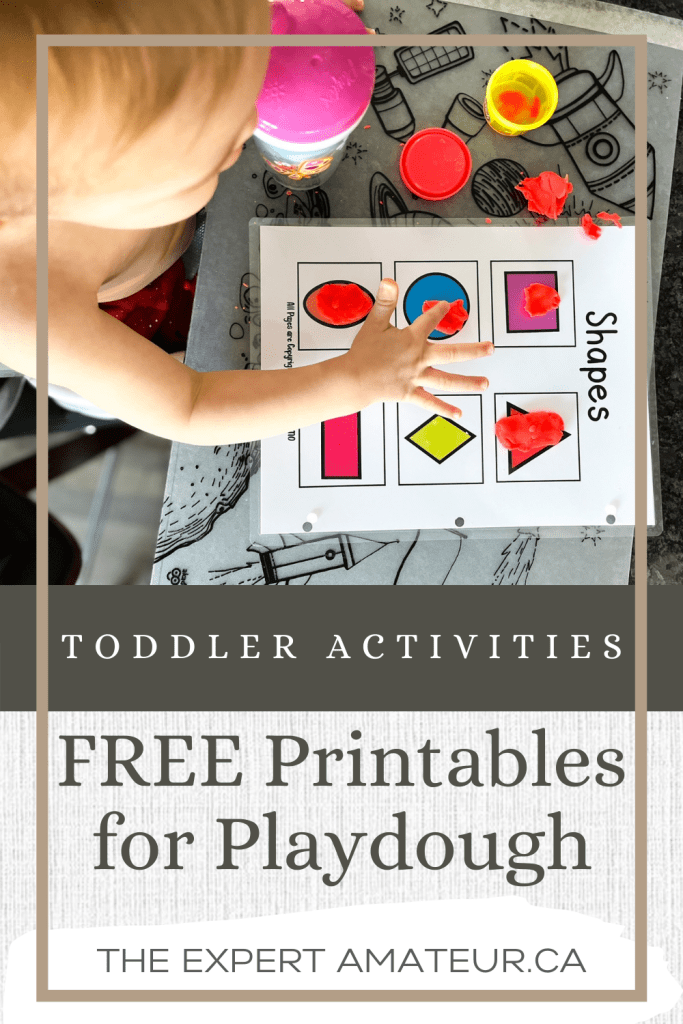
My first baby is getting older and is soaking up all the learning and my nerdy, teacher self is here for it! I want to have opportunities for her to learn with no pressure and to have fun! I have created some worksheets that can be used with crayons, playdough, or dry erase markers.
Reason #438 why I love my laminator is for making pages like these! By laminating these pages, it makes it a fun worksheet that can be used with playdough or a dry erase marker. Amazon sells a very affordable laminator. This is the one I own.
My oldest daughter Laurel has been loving using playdough lately so I have laminated most of the pages for her to use with playdough. She currently loves counting and singing the alphabet. I have created lots of alphabet and letters for learning activities but I didn’t have any number or math activities. These worksheets give me a way to work with numbers with my daughter.
Here is a fantastic free resource that I found on Teachers Pay Teachers, created by CaHill’s Creation, that work on numbers 1 – 10. Free Worksheet
The number pages are a bit advanced for my daughter right now but even using them as a mat to play with playdough, she is seeing the numbers and helps in recognition.
My favourite play dough mats to use with Laurel currently are the Butterfly, Flower and Ladybug pages. I love that they are only partial pictures and she can use her playdough to create the flowers or add dots or patterns to the lady bugs or butterflies. You can find these free pages on Itsy Bitsy Fun.
The other pages Laurel loves to use with playdough right now are the face and body pages. It is a great way for me to ask her the parts of the body and see if they can pick out where they are, as well as placing the playdough on the face. These pages are also fun to use with dry erase markers! Makes it easier to add details. You can find these awesome free printables on picklebum’s website.
Lastly, I created some math pages that could be used with playdough or the dry erase markers. These pages are geared more for PreK-Gr. 1 age group and are designed to be worked through with an adult. Included is also 2 pages of trace the lines, to practice motor skills. These could also be printed out on regular paper and used to have your child practice cutting along the lines.
I hope you can find some use for these worksheets, just as I have. If you do not want to laminate your pages you can also get sleeve protectors and they work decently well for using with playdough or dry erase as well!
If you are looking for more worksheet activites for Toddlers check out these other blogs!
Love week is upon us and I have a soft spot for making sweet, lovely gifts. I have always thoroughly enjoyed making my husband homemade cards and gifts throughout the years. Since I have been into crocheting so much lately, I had another tool to use to make something special.
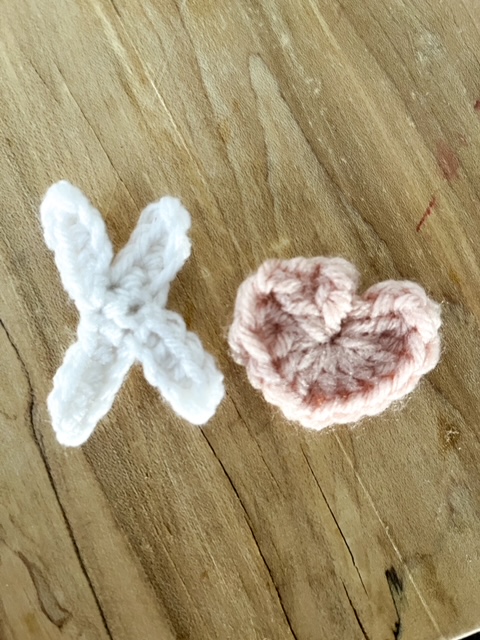
Now I can’t take full credit for this idea. I originally was making a game of X and O’s to play on the table, but my sister gave me the idea to make it so it could be played on the fridge. I LOVE IT SO MUCH!
I must add, you could easily make this with felt or fabric, if you do not know how to crochet!! Really any other material to substitute the yarn would make an adorable fridge game. So read on to see how to make your own!
MATERIALS
Yarn for crocheted version (Felt or Fabric if you want to just cut out hearts and X’s)
Magnets – I bought mine off of Amazon
Electrical Tape – for grid
Hot Glue gun – to glue on magnets
HOW TO MAKE
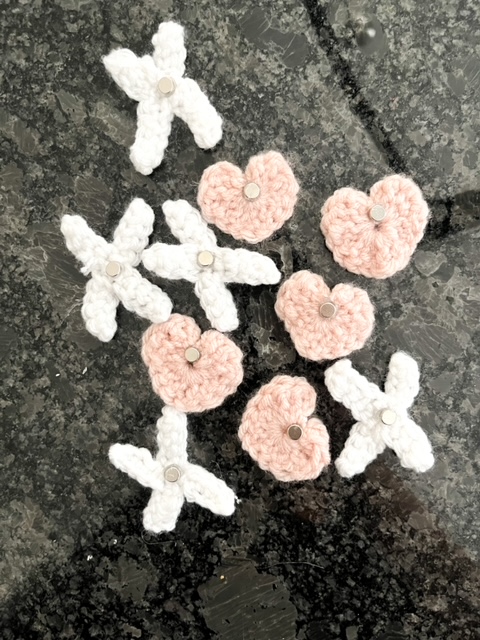
STEP 1 – Crochet your hearts and X’s
I used the 2 min heart pattern by Crochet World to create my little yarn hearts. I used the Blush coloured yarn from Michaels.
For the X’s I created a pattern myself.
X PATTERN
Ch 10 and turn
starting in 2nd loop from hook SC to end (9 stitches)
Tie off yarn
**Starting on either side of the line you created (right side up) Sl St into the 4th stitch and Ch 5 stitches, then turn.
Starting in 2nd ch from hook SC 4.
When you get back to the main chain, you are going to pull your hook out and insert from behind through the 5th chain of the line you made first. Then pull the loop you just pulled out of, through the 5th chain and sl st to secure it. Fasten off. **
Repeat from ** on the other side of the 9 stitch chain you first made.
(If you do not want to crochet your X ‘s and hearts you can cut out the shapes in felt or other fabric of your choice.)
STEP 2 – Glue the Magnets On
Hot glue your magnets onto the back of your X’s and hearts. I was very impressed by the magnets I bought off of Amazon. They are tiny so they are great for small projects, but they are very magnetically strong. (is that a word?? magnetically?? haha)
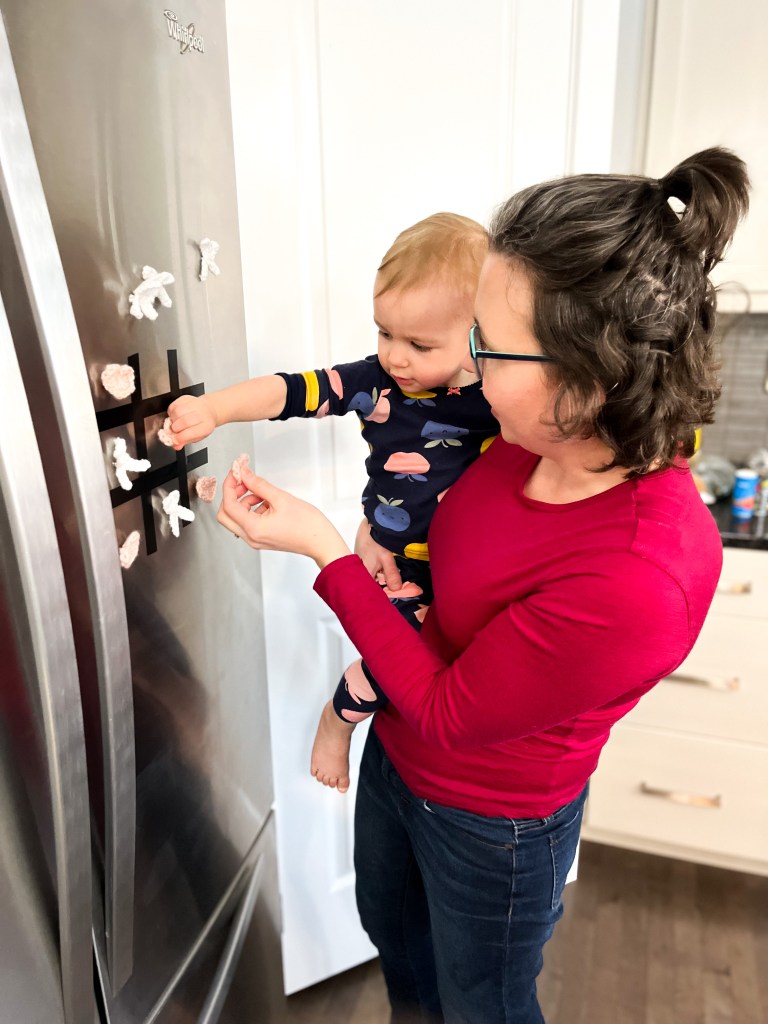
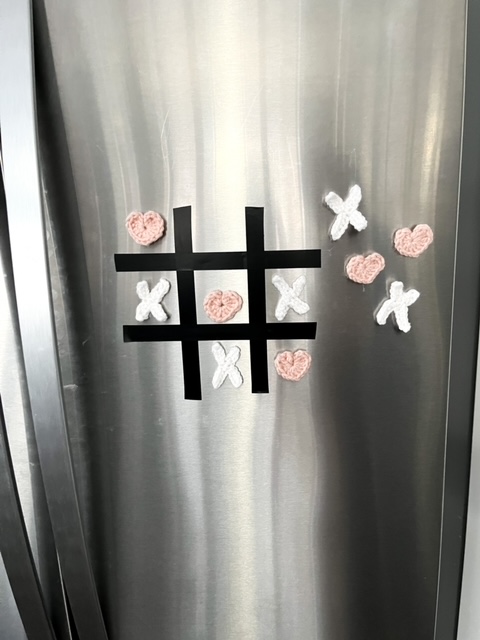
STEP 3 – Electrical Tape
Using your electrical tape make a grid on your fridge. I chose electrical because it is easy to apply and remove. You could also use masking tape but it just doesn’t look quite as nice.
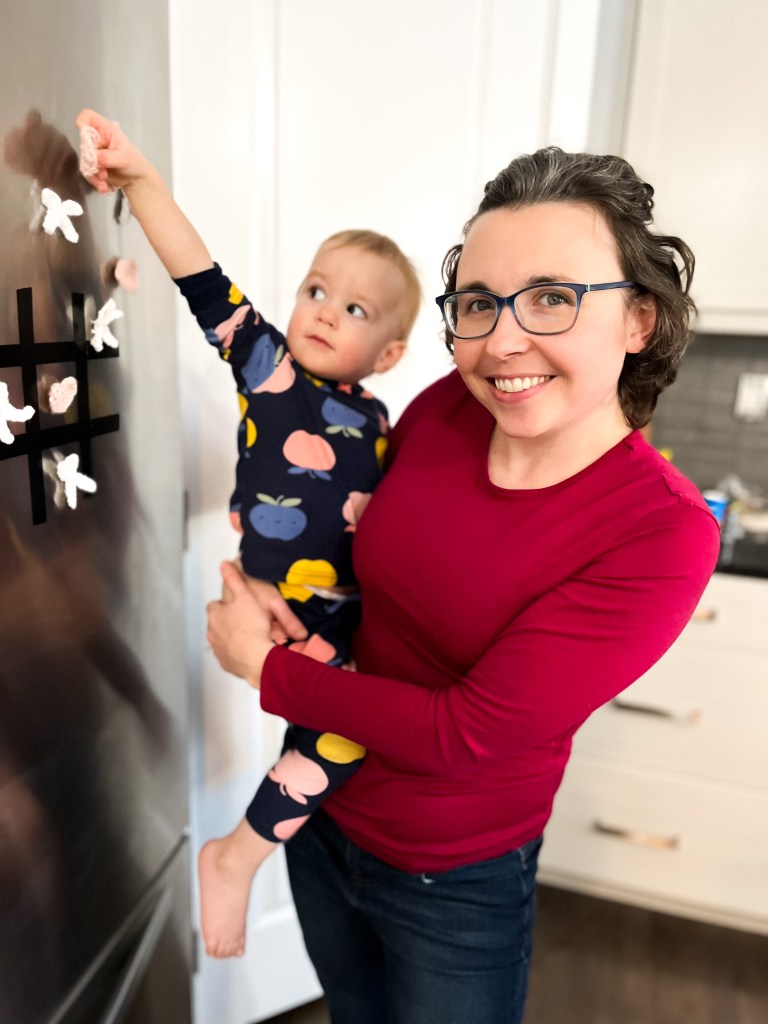
STEP 4 – Challenge Someone to a Game!
Enjoy playing against your spouse, child, sibling, friend, whoever you want!
Let me know if you make your own version on your fridge! Tag me on Instagram at @the.expert.amateur so I can share your designs.
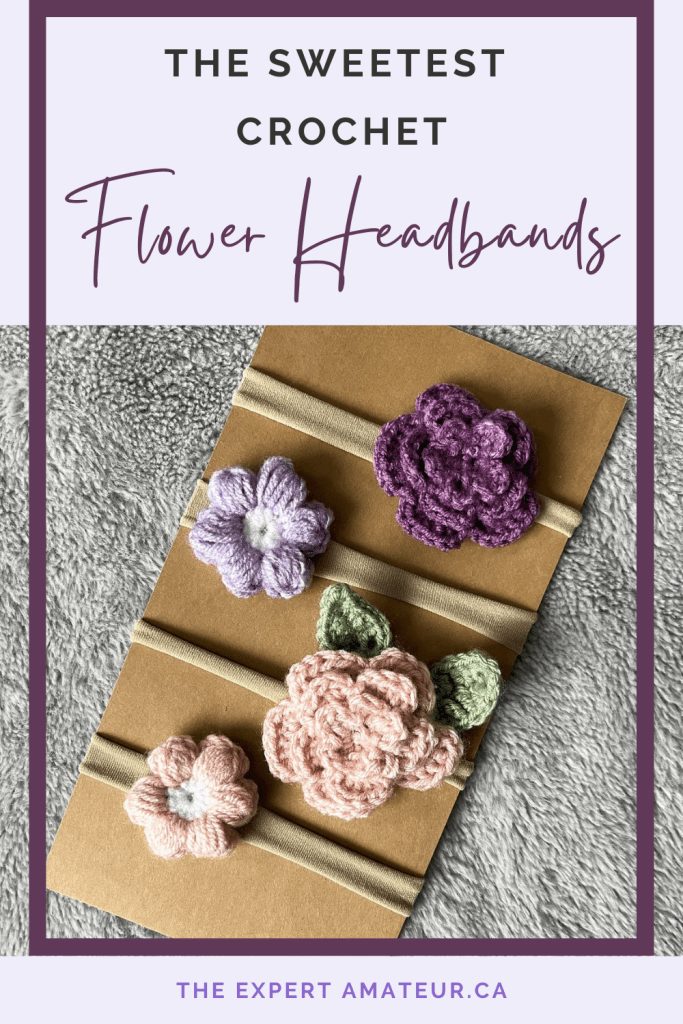
The winter blues have me channeling my creativity into bright and summery projects. I started searching up all the free crochet flower patterns and is there ever a lot of amazing ones!! I ended up picking two of them and off I went with my hock and yarn.
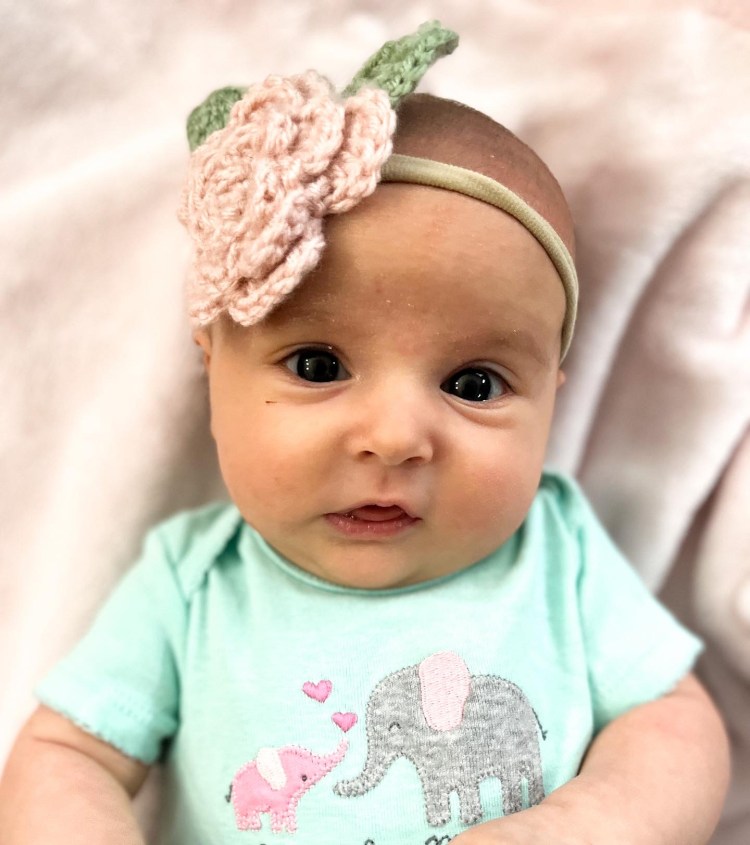
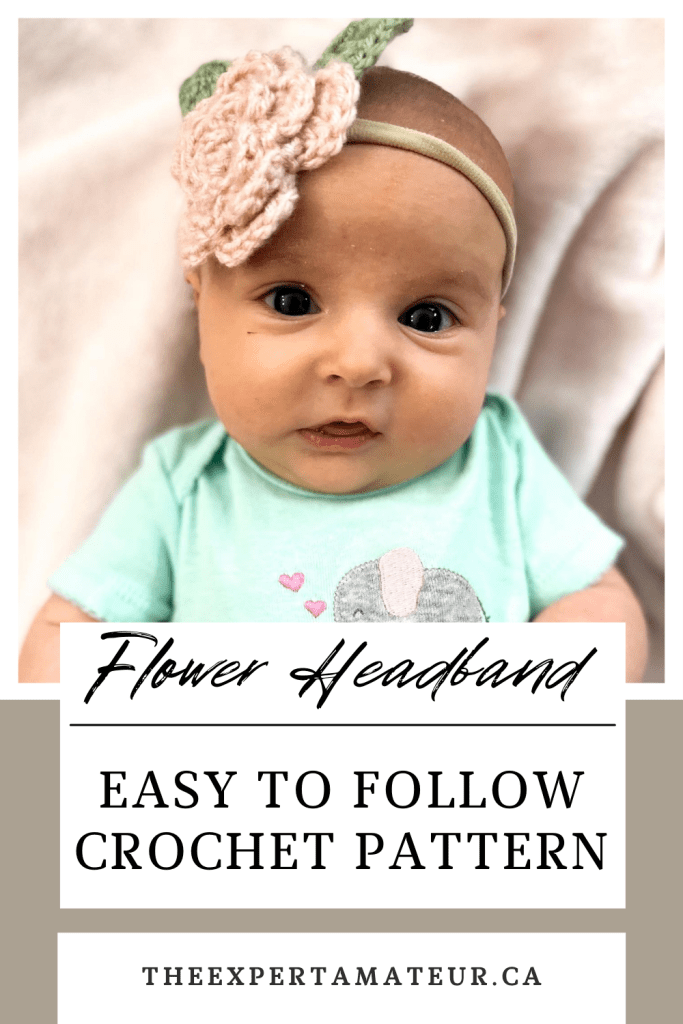
HEADBAND – I purchased the nylon headbands off of Amazon and hot glued my flowers to them. I find them to be the most gentle on newborn heads and they stretch to fit any size of head, including adult. Here is the link to the ones I bought.
CROCHET ROSE
I started off with this beautiful rose pattern by Sweet Softies. It was an easy pattern to follow and turned into a beautiful flower that I applied to a headband for my daughters. I used a thicker yarn than it calls for in the pattern so mine turned out a bit bigger but I like the size. Depending on what size you want, use a bigger or smaller yarn and crochet needle.
The yarn I used is: Weighted Medium 4 , Colours were Blush and Sage
Crochet hook size I used: 3.5 mm
You can find the free pattern for this rose on Sweet Softies website below.
The second flower I tried out was the puff flower. There are several people who have steps to complete this flower but I found a YouTube video that made it easy to follow for me. It is in a different language but her visual instructions were very simple to understand and follow. This flower would be so adorable made into a blanket, clothing, scarf or headband.
I made these into headbands because it was very quick to whip one up and produce a finished product. I plan on creating a headband that connects several puff flowers together next. I also think a baby blanket made out of puff flowers would be so adorable but I don’t have anyone to give it to yet, so I am leaving that on my future WIP (Works in Progress) list.
My first born is turning into a active, talkative, busy busy toddler! This both excites and terrifies me, as she doesn’t stop moving and I have to constantly watch to make sure she isn’t getting into places she shouldn’t be.
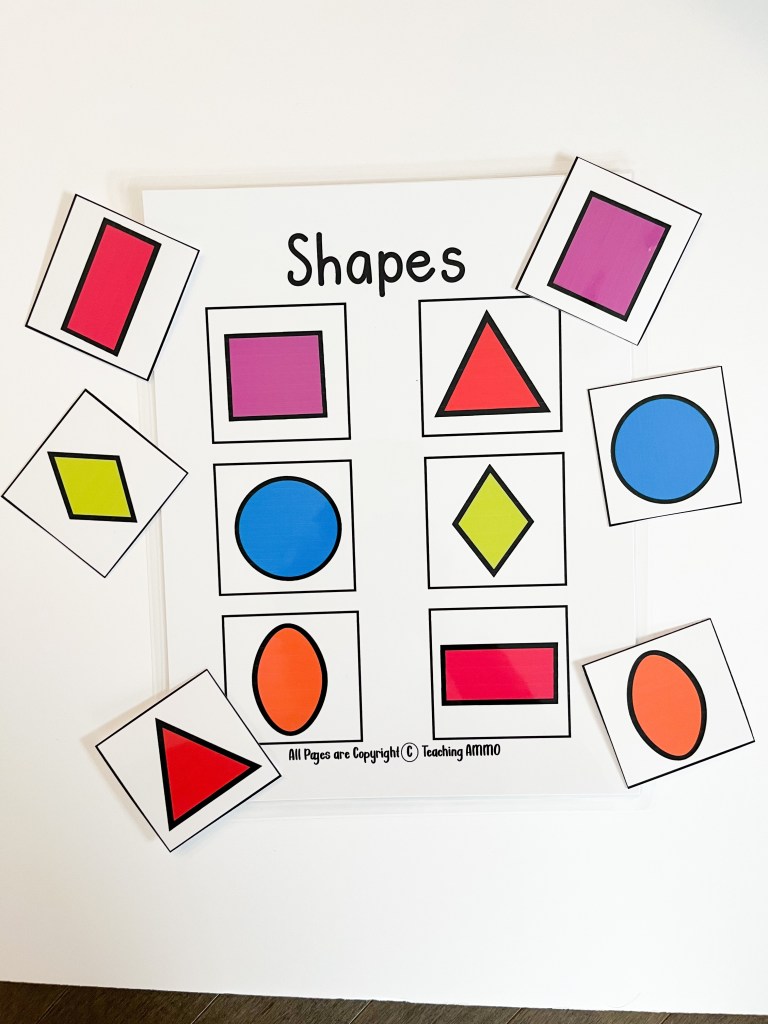
She has been very interested in books the last few months and we read several a day. She also loves having me write down names of her family and friends. I kept thinking I should make flash cards and then I got the idea of making a little busy book for her. The alphabet pages and shapes were two things I definitely wanted to include. I think its good for recognition of letters even if they don’t know them yet. We sing the alphabet everyday and I always point to each letter when we sing it.
You can make the worksheet so that it is reusable or you can also use it as a one time activity. If you have access to a laminator or own one, I would definitely laminate it to last the longest. You could also put the pages in protective sleeves to help preserve them longer.
Materials I Used:
Photo Paper – I wanted a thick durable page and I also printed out other pages with family photos. Thick cardstock would also work just fine.
Laminator – I bought mine off of Amazon for a decent price and I love it!! The lamination sheets are also very reasonably priced.
Velcro strips – Dollarama sells long strips of these and then you can cut them to the size you want. You can also order some off of Amazon. I personally recommend purchasing from Dollarama, as it is cheaper and you don’t need a lot of velcro.
I laminated my worksheet pages and then I used the velcro strips and cut them into small pieces and applied them to the matching alphabet letters and pictures. I left the shapes without the velcro since it was just one page she can place them on the matching shape.
I hope you can find a use for this worksheet page. I know that my daughter is enjoying it so far!
It was my first Mother’s Day last year, as my daughter was born 8 days after it in 2020. I have been excited my whole life to be a mother so this was such a special and wonderful day.
My husband planned an amazing day! He made me a delicious Eggs Benny Breakfast and then we had a wonderful afternoon picnic by the river. He also purchased me the most thoughtful gift. This baby hand and foot clay kit. It was perfect timing as I was able to do the imprints for our daughter’s first birthday only a week later.
This kit was very straight forward and easy to complete. It makes a wonderful keepsake. It would be great to give as a baby gift or to purchase for your own little one.
A simple and easy to follow craft. You can find the link to the kit here.
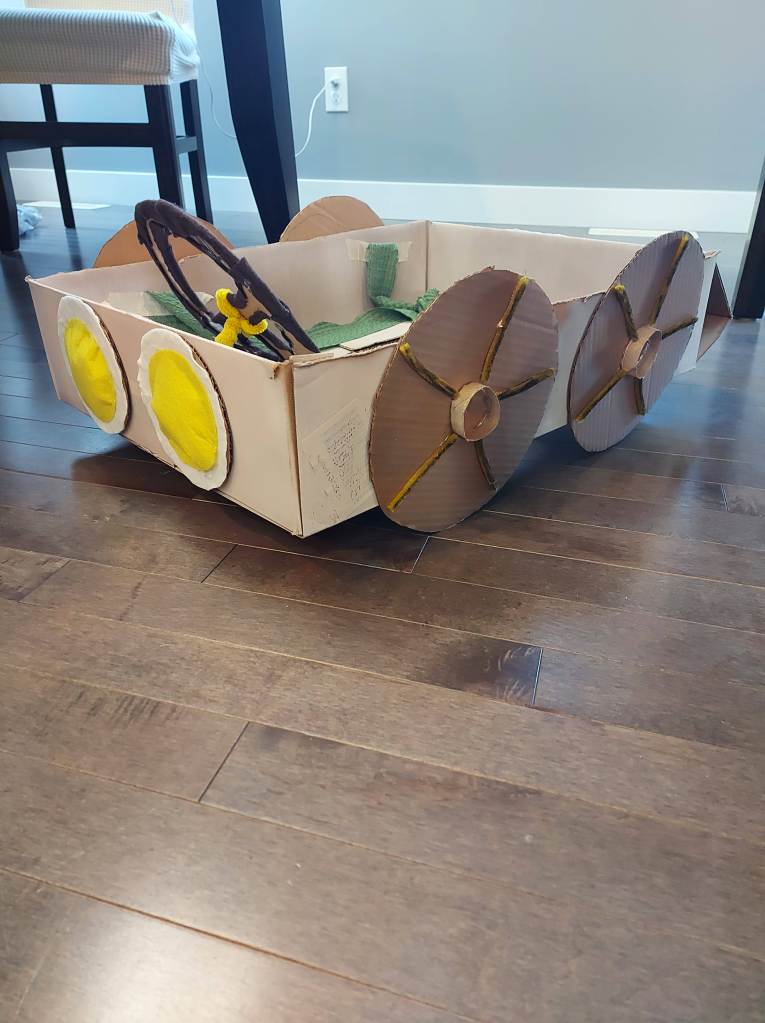
Want a way to keep your toddler occupied with an old box and a few odds and ends?? Make a box car! Such an inexpensive and easy way to make something your child can play with for hours. (well maybe not hours all at once, but a solid 20 mins)
This is also a great activity to make with your toddler. They can help with lots of aspects of creating this car.
My mom made some box cars for my brother and myself when we were kids and so I was excited to create my own version for my daughter Laurel. Here is what I used to create Laurel’s car.
Supplies:
Box for car (large enough to cut a whole in for your child)
Extra box for parts – steering wheel and tires.
Paint
Felt – for decorations and embellishments
Fabric – for straps
Hot Glue
Scissors
Toilet Paper Rolls – for inside of the tires
Steps to Make:
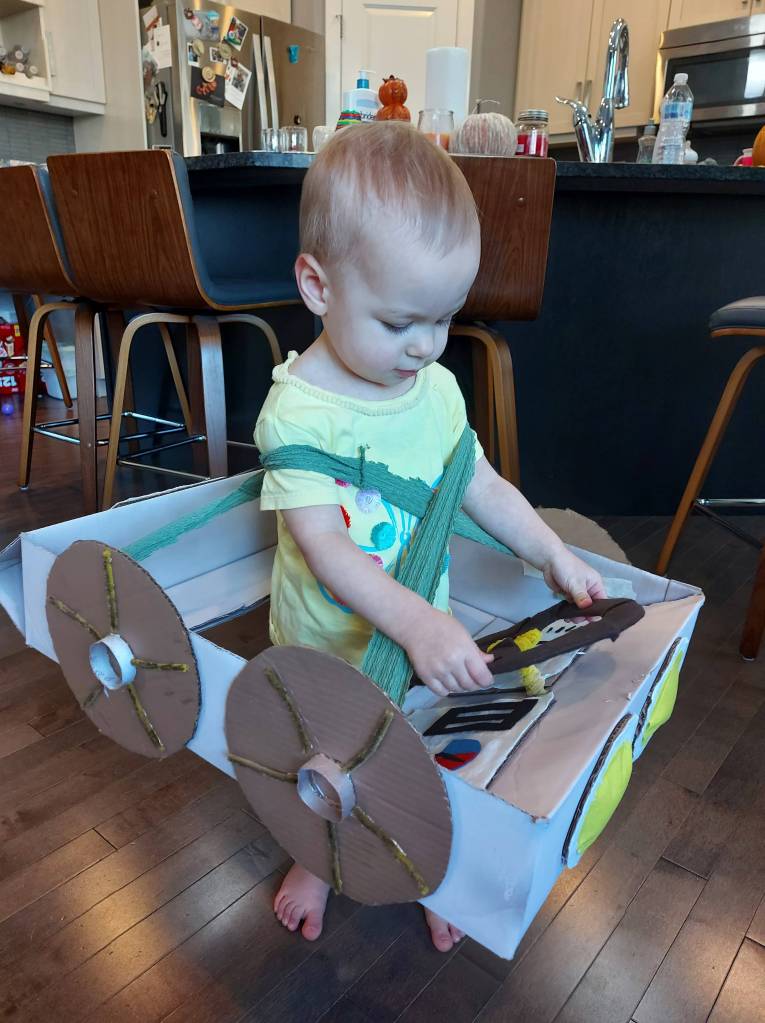
Cut out a hole in the box big enough for your child to easily put it over their body and get in and out of it.
Cut out circles for the tires and steering wheel. I used a coffee container to trace out my circles.
Paint! If your child is old enough and it’s nice outside, have your child use washable paints to paint the car and the parts. It was cold out so I opted to spray paint the car in my garage since I didn’t have a space big enough inside for my child to play around with paints safely haha.
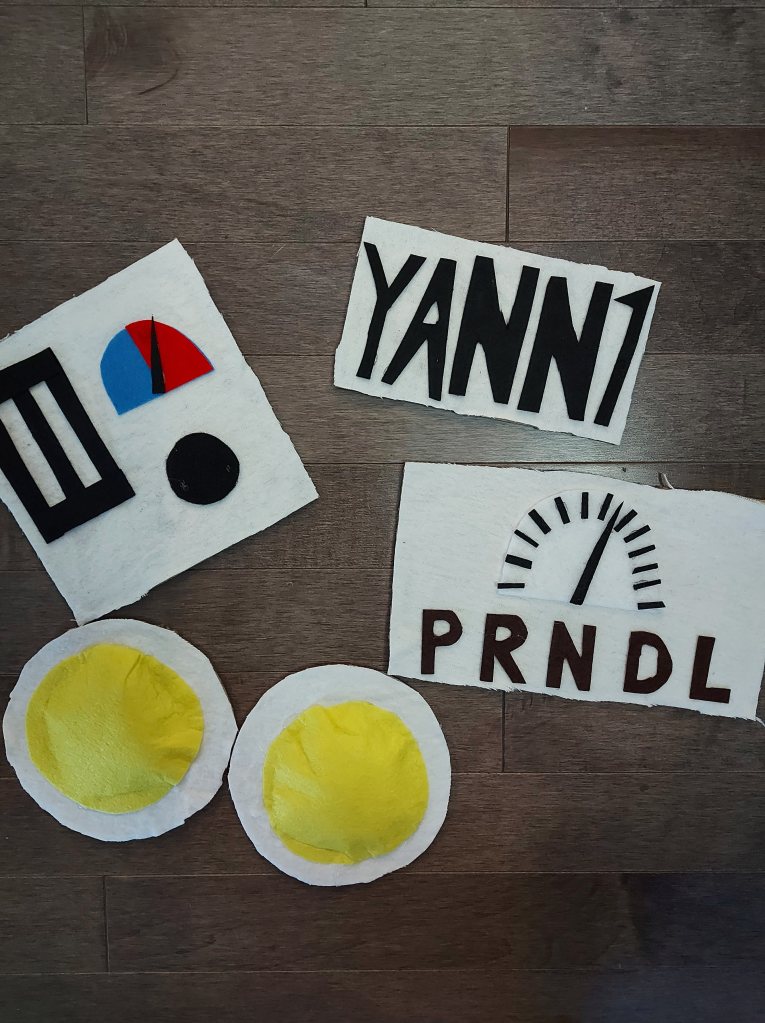
Cut out embellishments with felt or paper. Use whatever you have on hand to add details to your car.
Hot glue the steering wheel and tires to the car to make sure they are more sturdy and don’t fall off during play.
Add straps to the car using hot glue. This is to put around the child’s shoulders so that they don’t just have to carry the car around. Measure the straps first. As you can see in my picture below, I made my straps too long and had to adjust them later to fit my daughter better.
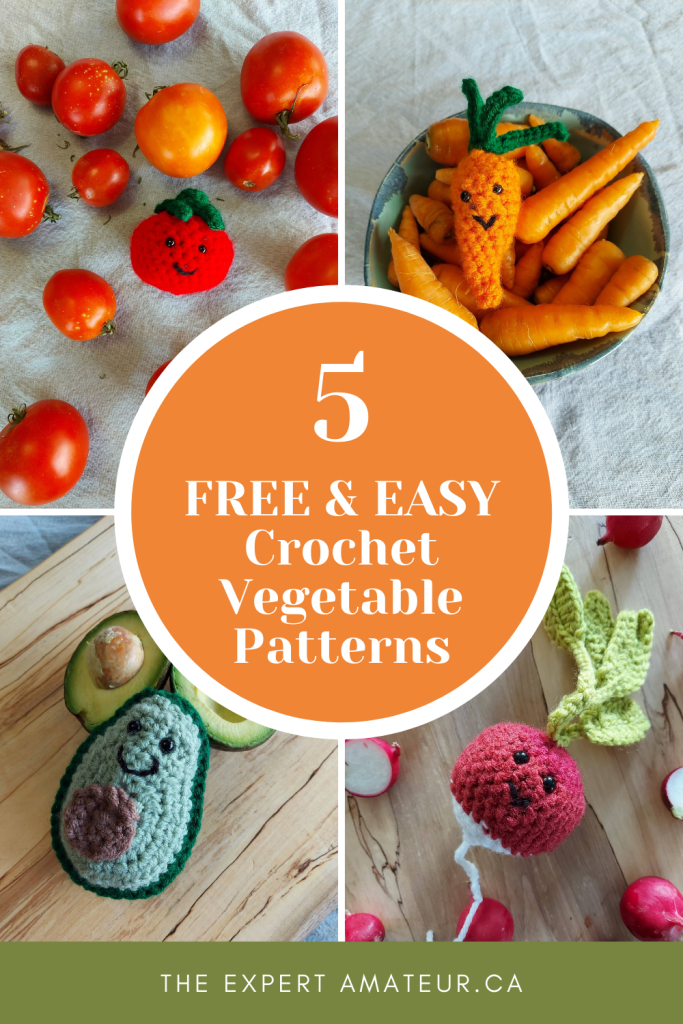
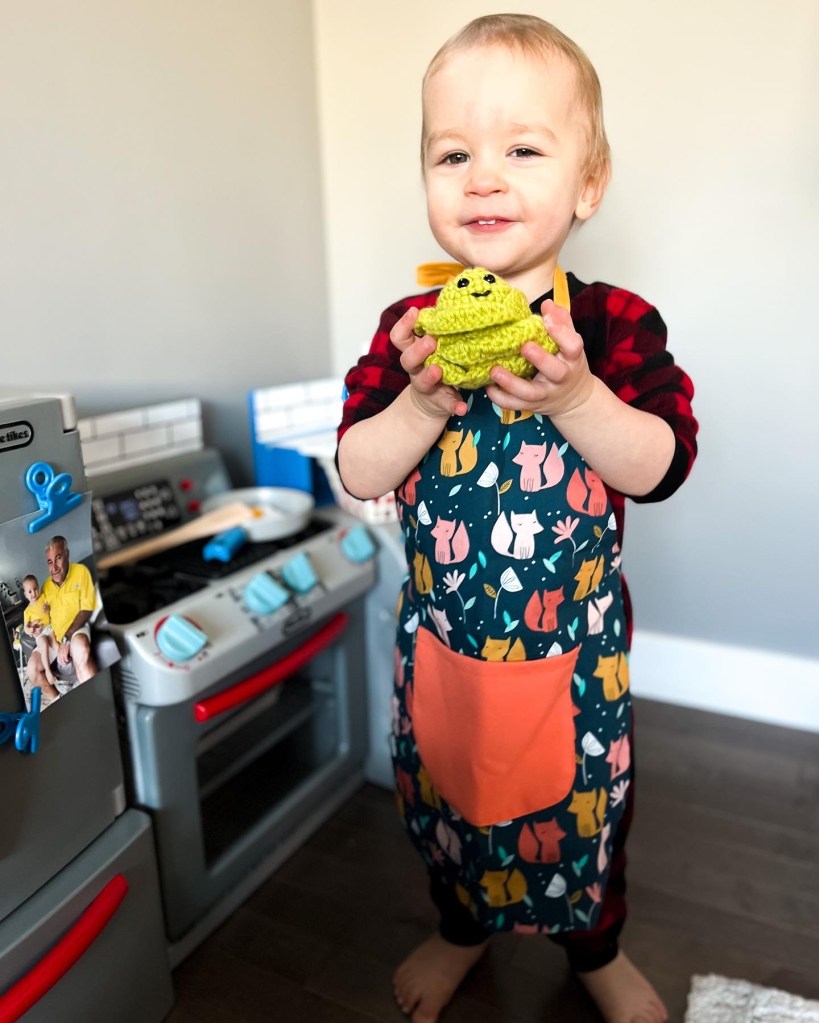
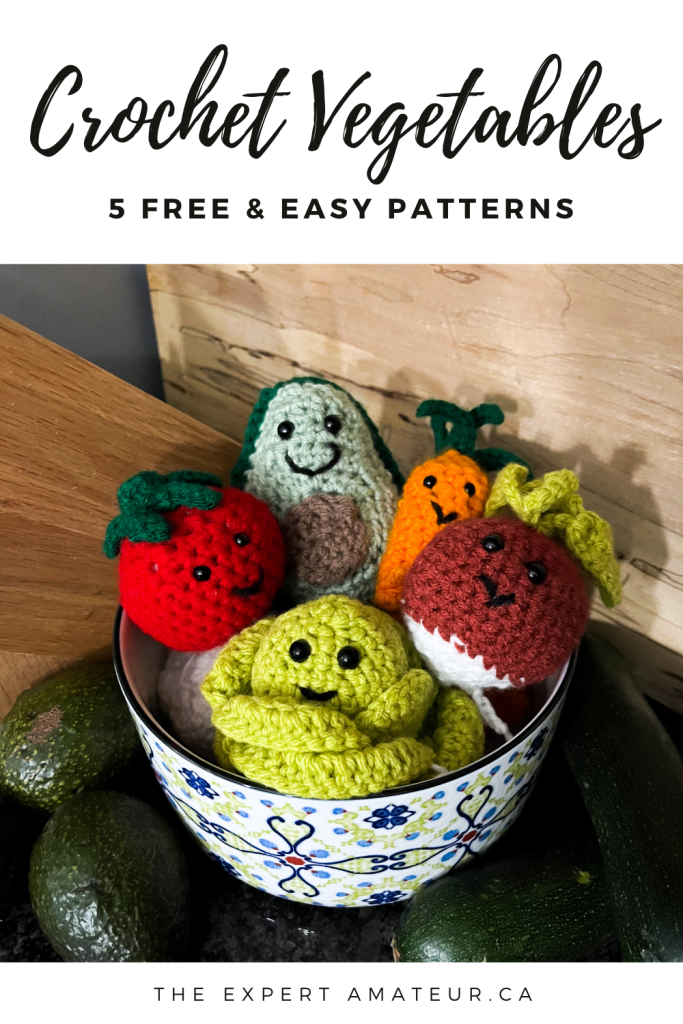
I finally got this post done! The 5 vegetables I crocheted for my daughter for part of her Christmas gift. The patterns I found were very straightforward and easy to follow and if you are new to crochet, and you have a bit of patience, you can easily create these sweet little veggies!
I love that my daughter is the perfect age to enjoy these sweet veggies in her play kitchen! She loves them and regularly coos at them and gives them hugs before enjoying them for a pretend supper.
VEGETABLE EYES – For all of my vegetables, I added little black beaded eyes to them. I bought a pack of crafting eyes off of Amazon. I love how easy they are to apply and that there are several sizes I can use. Click here to see what I purchased.
Now onto the veggies…here are where you can find all of these wonderful free patterns!
Avocado
This was the first veggie I made and it made me so confident to create more! It didn’t turn out perfectly, but the nice thing about crochet is that you usually can’t tell if you make small mistakes and mine still turned out cute! One of Laurel’s favourite foods is avocado so this one was a real hit when she opened it up for Christmas.
This pattern is made my Repeat Crafter Me and can be found in the link below.
I think this one might be my favourite that I created! I love the leaves and I was happy to see how easy it was to switch colors in the middle of the radish. I added eyes to this one, even though the pattern does not include them. Just add them during the stuffing stage before you add all the stuffing!
This wonderful pattern was created by Knitted Story Bears and can be found in the link below.
This one took the longest to make. You have to create a green ball first and then 8 leaves that you then attach with your yarn needle after. It took me a couple days working on it every now and then to get it done. Maybe a total of 3 hours? With a toddler running around it was hard to find a large length of time to work on it. It turned out great though and I am glad I made it!
The cabbage pattern was also created by Jen Hayes Creations and can be found in the below link.
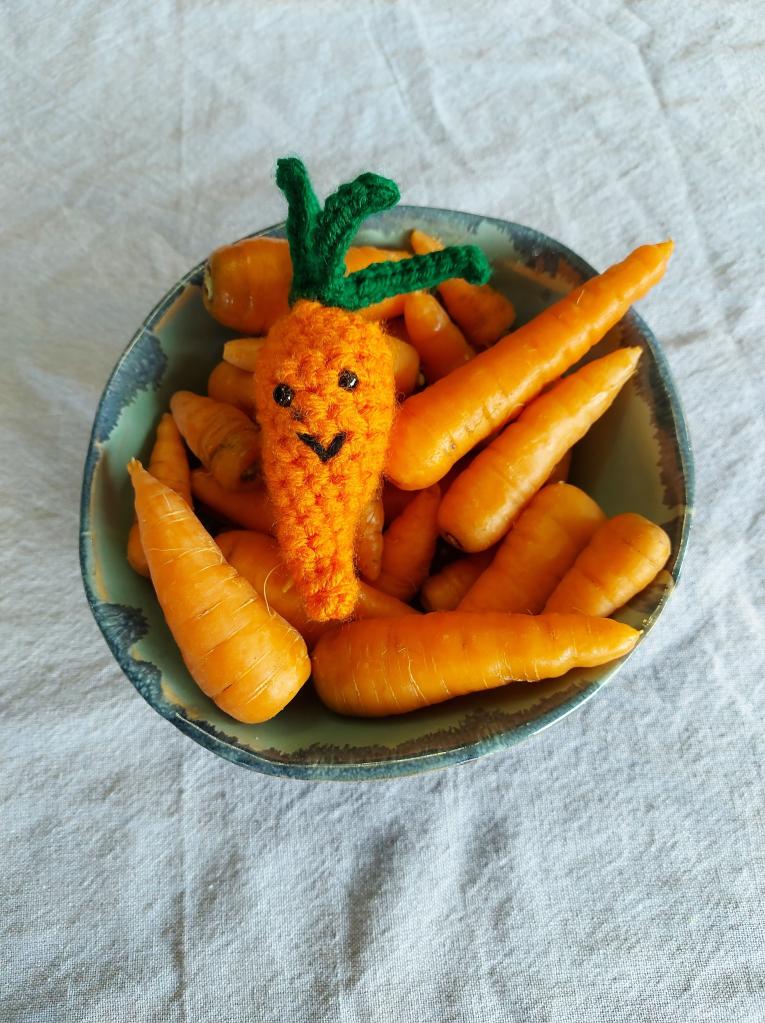
This was the quickest vegetable to crochet. I was able to complete it in around 20 min. I had already practiced making circles, so it was quite easy to make, especially because it is not very big.
The Tomato pattern was created by Jen Hayes Creations and you can find it in the link below.
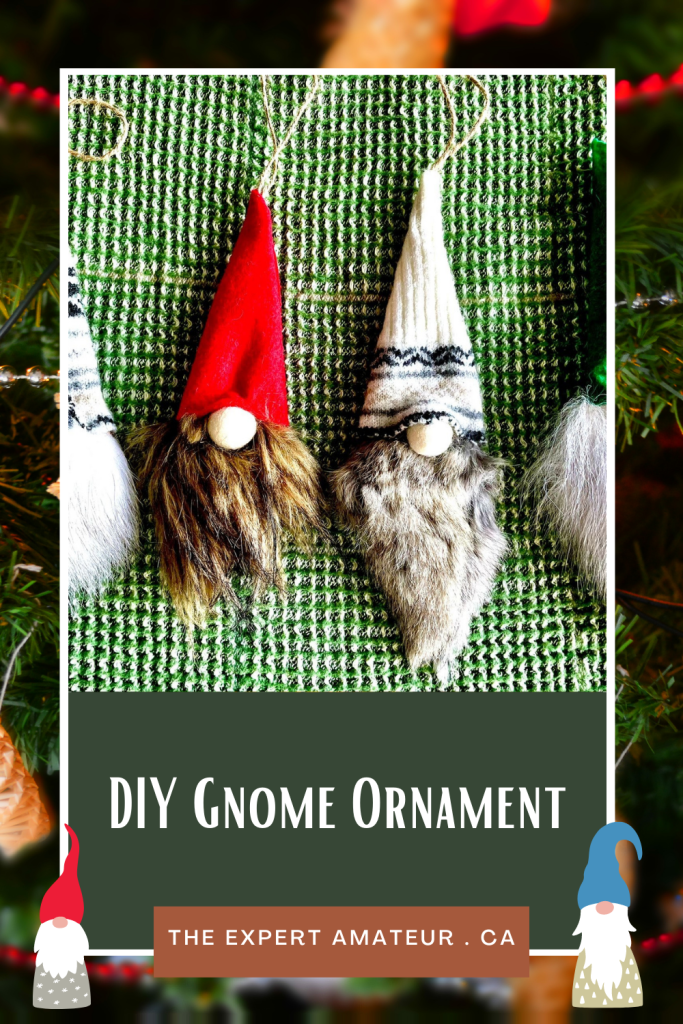
Gnomes seem to be all the hype the past few years and doesn’t seem to be dying down. I created some sweet and simple gnome ornaments a couple years ago. I made some for my own house and then while I was teaching, we had a winter carnival at our school and I ran an art station that taught the kids and parents how to make an ornament and then they got to take it home. It was very successful!
Materials
Small Wooden Slices – I used 2 inch slices purchased off of Amazon
Fake Fur for Beard – I purchased a large piece of fake fur from Fabric Land
Felt or Fabric for Hat
Small cotton balls or beads for nose.
Hot Glue
String to hang ornament
How to Make
STEP 1 – Cut out Felt Hat
Choose the color of felt you would like to use for your hat and cut out a triangle. Use your wood circle slice to help you measure your yarn. The bottom of the hat should be able to wrap around the center of the wood circle with a little extra room for gluing. Then cut your triangle as tall as your would like your hat to be.
STEP 2 – Glue Your String on the Felt
Hot glue gun your string onto the felt so that when you fold up the felt into a hat it hides the glue and the string comes out the top of the hat.
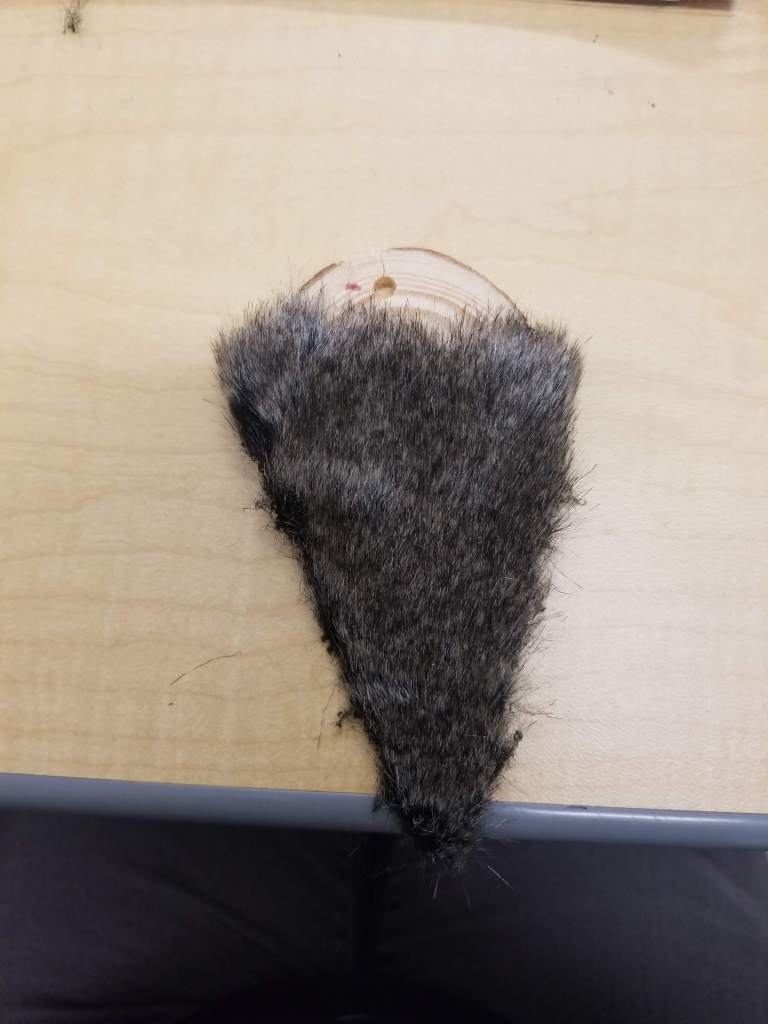
STEP 3 – Cut and Glue Your Beard to the Circle
Cut out a triangle of fur for the beard and have it so that it slightly wraps around the wooden circle a little more than halfway up the circle. Hot glue into place. (The wooden circle is just used for the base and won’t be seen when the craft is done.)
STEP 4 – Glue the Nose into Place
Place the nose at the top of the fur in the center and glue into place.
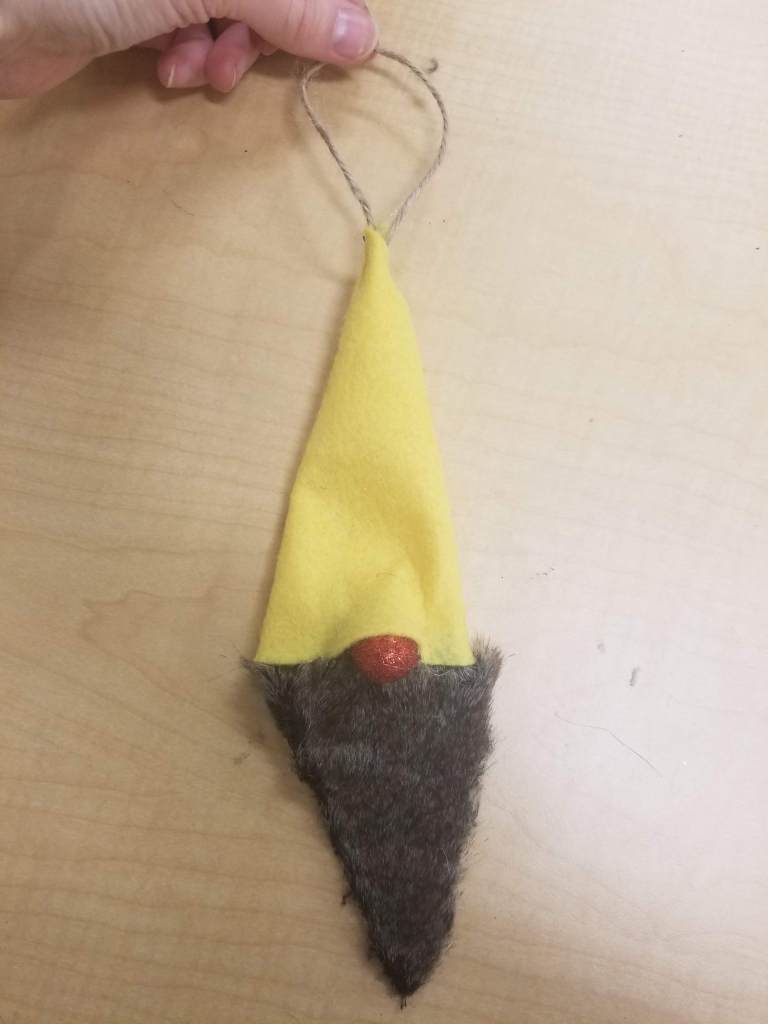
STEP 5 – Glue the Hat in Place
Wrap the felt for the hat around the wooden slice and have it slightly overlap the nose so that it looks like it is poking out. Glue the hat into a cone shape up to the top with the string hanging out.
Your ornament is done! Be creative and let me know if you make one! You can tag me on Instagram @the.expert.amateur