
Gnomes seem to be all the hype the past few years and doesn’t seem to be dying down. I created some sweet and simple gnome ornaments a couple years ago. I made some for my own house and then while I was teaching, we had a winter carnival at our school and I ran an art station that taught the kids and parents how to make an ornament and then they got to take it home. It was very successful!
Materials
- Small Wooden Slices – I used 2 inch slices purchased off of Amazon
- Fake Fur for Beard – I purchased a large piece of fake fur from Fabric Land
- Felt or Fabric for Hat
- Small cotton balls or beads for nose.
- Hot Glue
- String to hang ornament
How to Make
STEP 1 – Cut out Felt Hat
Choose the color of felt you would like to use for your hat and cut out a triangle. Use your wood circle slice to help you measure your yarn. The bottom of the hat should be able to wrap around the center of the wood circle with a little extra room for gluing. Then cut your triangle as tall as your would like your hat to be.

STEP 2 – Glue Your String on the Felt
Hot glue gun your string onto the felt so that when you fold up the felt into a hat it hides the glue and the string comes out the top of the hat.

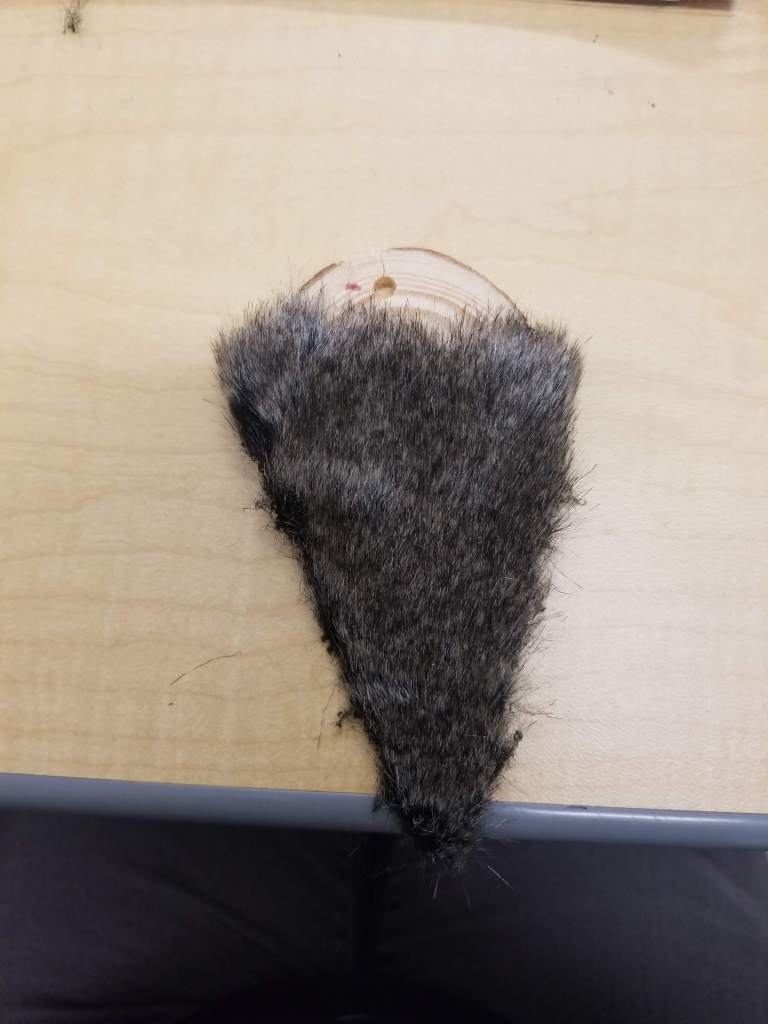
STEP 3 – Cut and Glue Your Beard to the Circle
Cut out a triangle of fur for the beard and have it so that it slightly wraps around the wooden circle a little more than halfway up the circle. Hot glue into place. (The wooden circle is just used for the base and won’t be seen when the craft is done.)
STEP 4 – Glue the Nose into Place
Place the nose at the top of the fur in the center and glue into place.

STEP 5 – Glue the Hat in Place
Wrap the felt for the hat around the wooden slice and have it slightly overlap the nose so that it looks like it is poking out. Glue the hat into a cone shape up to the top with the string hanging out.
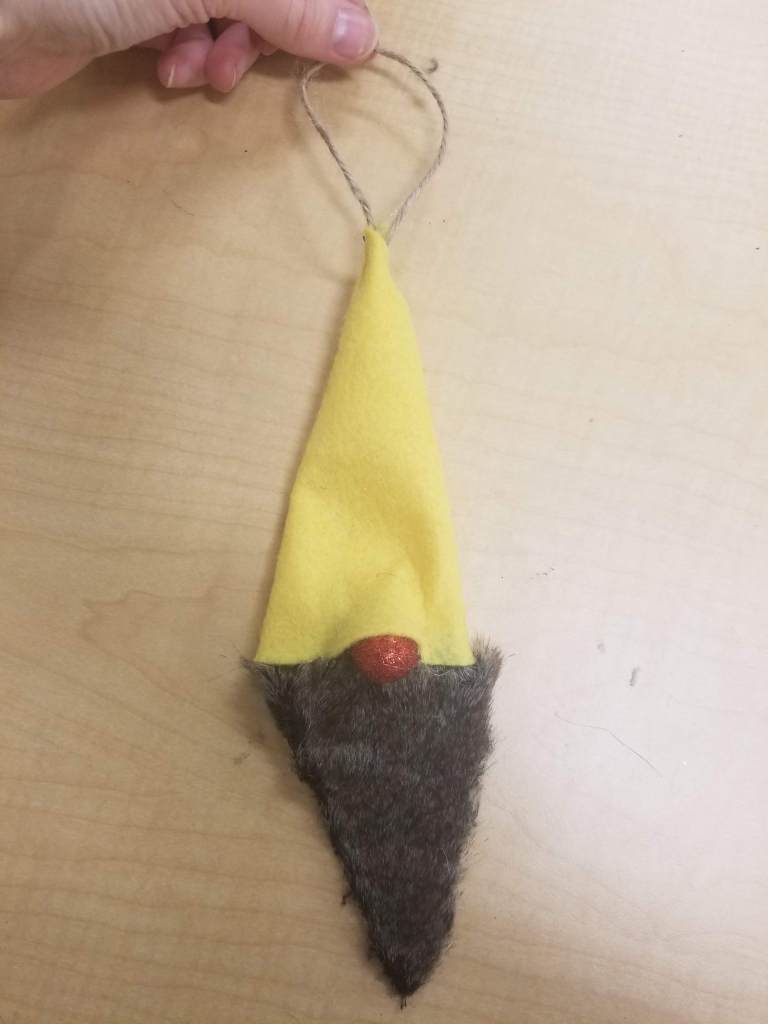
Your ornament is done! Be creative and let me know if you make one! You can tag me on Instagram @the.expert.amateur


