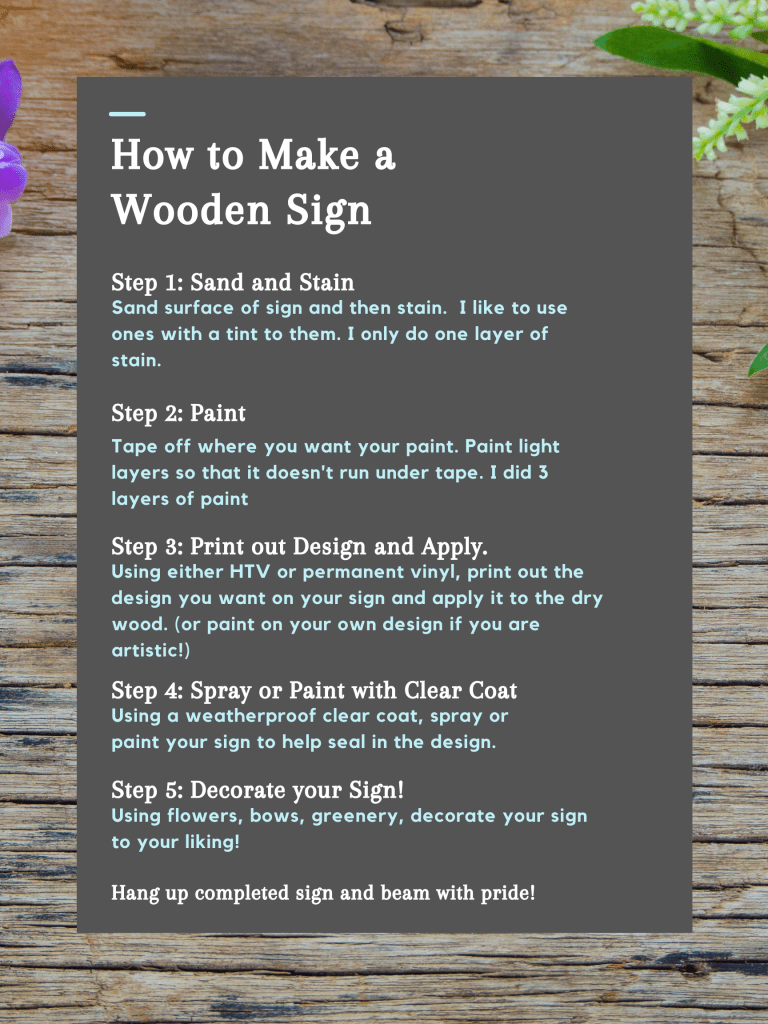
I love making designs and art on wood. Wood is rustic, durable, classic, and so versatile. If you are making a wooden sign and trying to decide what type of vinyl to use on it, please read ahead to learn about some of the pros and cons I have come across.
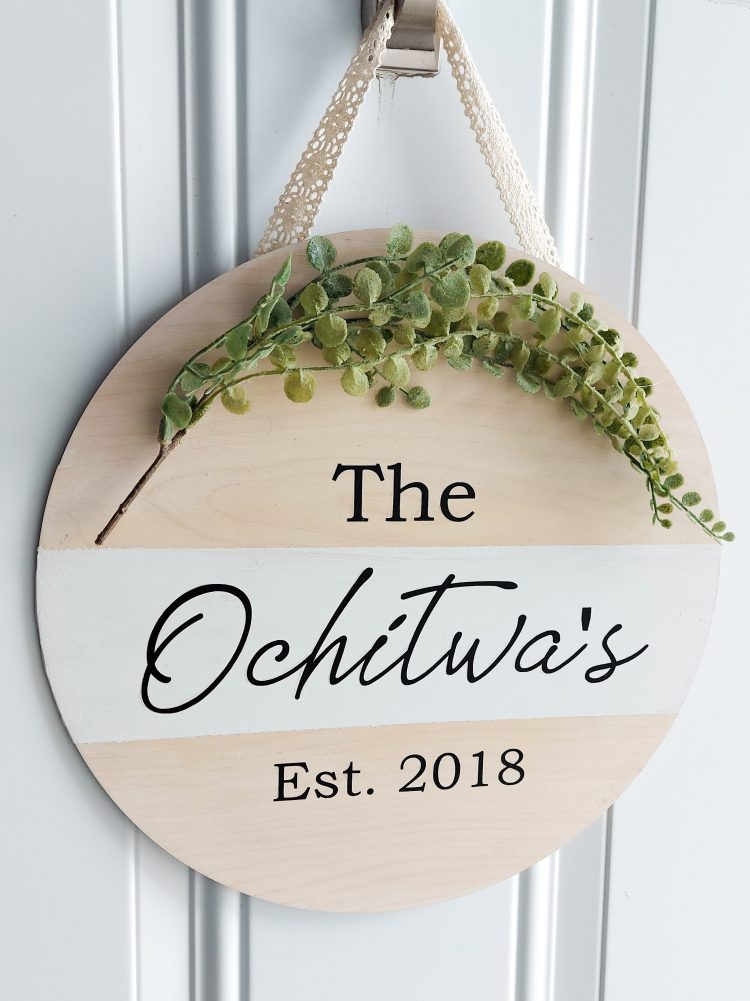
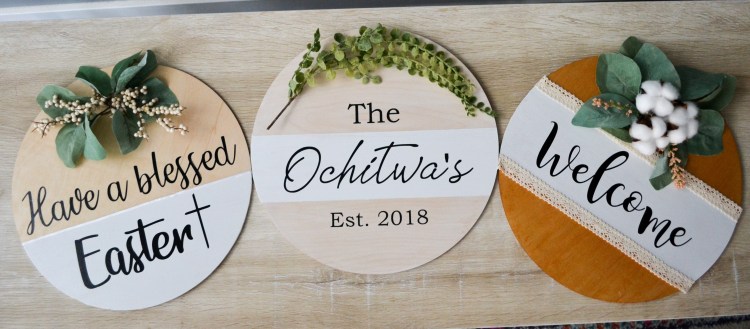
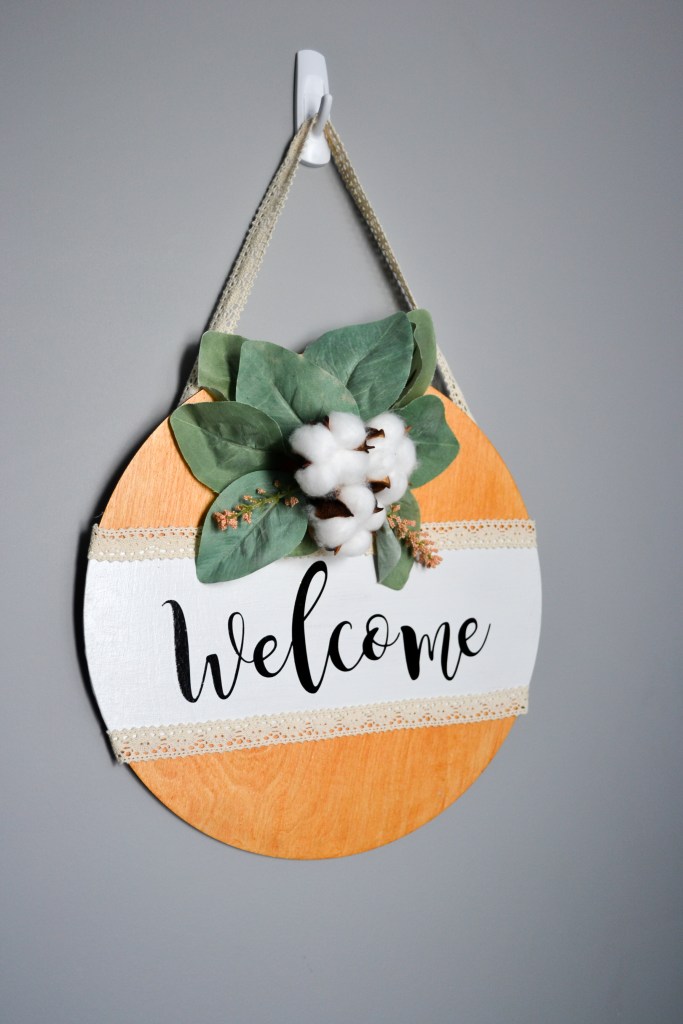
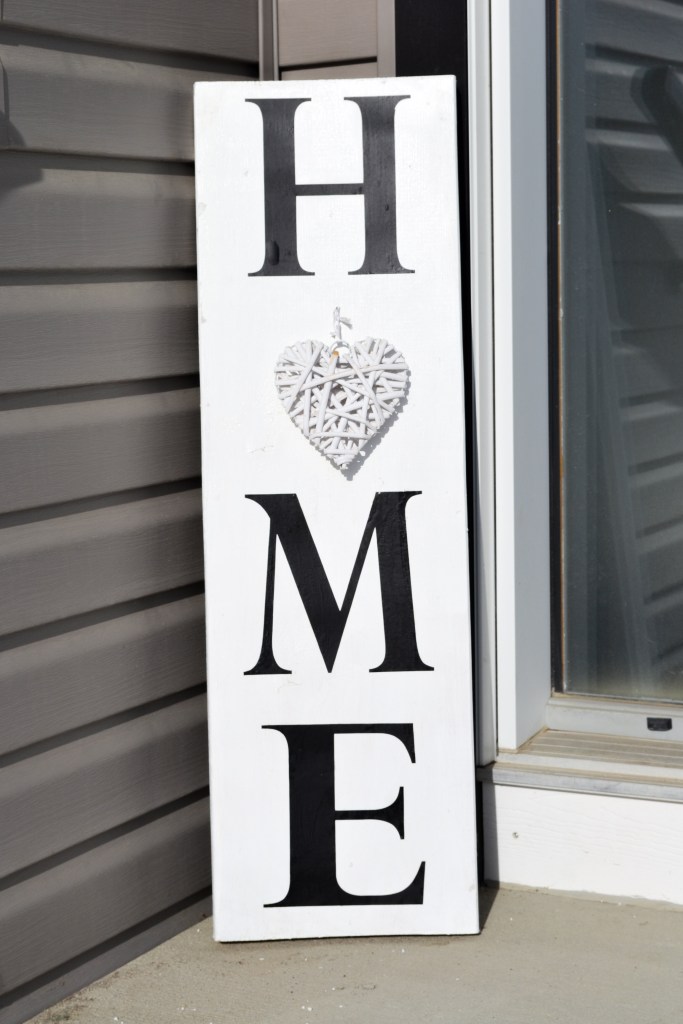
I made some wooden round signs to test out the 2 different types of vinyl on wood, as well as a larger Home Sign. First off I would like to say it is possible to make nice signs with BOTH types of vinyl but there are definitely some pros and cons to each. Different types of vinyls might also make a difference in the look.
Permanent Vinyl Projects
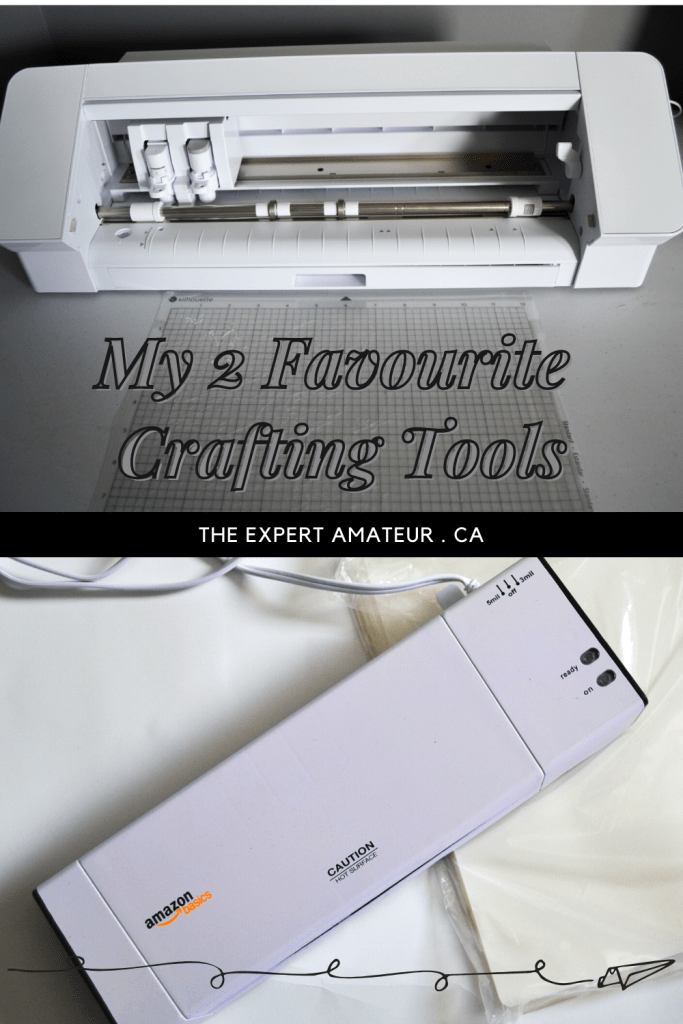
I use Oracle 651 permanent vinyl on the projects I have done. It is very good quality and can be found at Michaels, or on Amazon. If you are from the US then I have heard Hobby Lobby is the place to go. (I WISH we had a Hobby Lobby in Canada!) I purchase mine through Amazon, as I find it to be similar price to stores and I can find more variety. Because I use black the most, I usually purchase 25 foot long value roll.
PROS
- Takes less time to apply. (Just make sure you have Transfer Paper, otherwise this would be a nightmare.)
- Easier to apply than HTV.
- Holds it’s shape and does not bubble up.
CONS
- You won’t always get as sleek a look. You will be able to see that it is a sticker when looking up close.
- If your wood is rough, the vinyl will not stick as well. Make sure you have nice sanded wood when you start your project.
- Certain clear coat finishes can cause your vinyl to peel up on the edges.
Heat Transfer Vinyl
I purchase my heat transfer vinyl off of Amazon but there are several places you can purchase it as well. Michaels has a large section of vinyls to purchase. If you want neutral colors I recommend purchasing off of Amazon because you can get a better deal but if you would like one time smaller pieces of Vinyl I would check Michael’s (or Hobby Lobby if you have one) first. You can get glow in the dark, sparkly, tye dye and many more types there.
PROS
- A sleeker look if done correctly.
- Looks more like it is painted on rather than a sticker.
- Faster than painting.
CONS
- Takes a lot longer to apply
- Vinyl can get distorted if you are not careful.
- Tricky to do if you just have a regular iron. With a heat press, you can get the more exact temperature you need.
My advice for using an iron:
- DO NOT move the iron around. Press down on one part of your design at a time and then lift and press down again. I usually press down for 30 second increments and continue to check the design to see how it is sticking.
- Set your iron to 300 degrees F. If you aren’t sure what that is, keep your iron on a lower temp to start and increase heat if it doesn’t seem to be sticking. If the iron is too hot when pressing, you can get brownish marks on your project OR you can also melt and distort your heat transfer. If you are transferring onto painted wood, you may also have paint smudges if the iron is too hot.
Whichever type of vinyl you choose, take your time and you will be able to make a wonderful sign!
** Amazon links are affiliate links. I will get compensated for purchases made through them. This helps so that I can continue to grow my blog and create high quality content for all of you!