
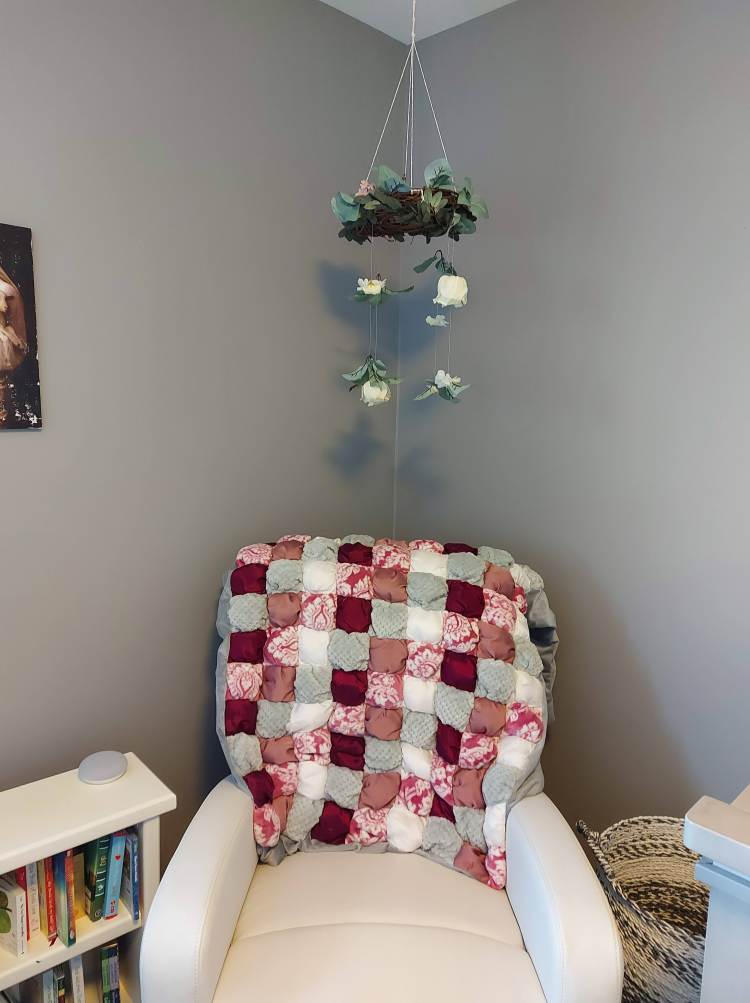
One of my favorite things in life are BLANKETS! Absolutely love them. I am a naturally cold person and so I can never have too many cozy blankets around. This particular blanket, however is for my baby girl. It is fantastic for our home because we have hardwood on our main floor so I used it as a blanket to lay her on the floor before we got an area rug. The puff patches make a super comfortable cushiony feeling for her to lay on.
I rarely sew, so this is easily a beginner project but turns out looking like you are an expert!
Time: 8-10 hours I don’t remember the exact time but it took maybe 2 days of working on it. If you sew frequently I am sure you could easily whip it up in an afternoon!
WHAT YOU NEED:
Materials:
- 5 fabrics for the quilt patches – the discount section in your local fabric store is the go to place for this project! I choose similar colour tones for the patches.
- Old sheet for the back of the puffed patches
- Minky fabric for the back-This is the priciest part of this project. If you want a less expensive project, a fleece or flannel would work as well.
- Cotton filling for puffed patches – I got mine from Walmart but Amazon also has some for a decent price.
- Sewing Machine
- Pins or clips– to hold the fabric in place when sewing. Makes it SO much easier. (especially if you are an amateur sewer like me.)

STEP 1 – LAY OUT – The first step for me was cutting out all of the fabric squares and laying them down to get a visual of what the end result would be. I made each square a half an inch bigger so that it gave me the space for sewing. Any size of square will work!
STEP 2 – MAKE PUFFS – Once your squares are all cut, you will with then make a backing for all those squares with an old sheet or scrap fabric. This fabric will not be seen, so use up those scraps! The square backing however, should be a 1/4 inch smaller than your top layer on both sides of the square, so that your puff pops out more when stuffing it. Sew the quilt fabric and the backing together, leaving a little space to stuff it full of cotton fluff. Sew together completely.

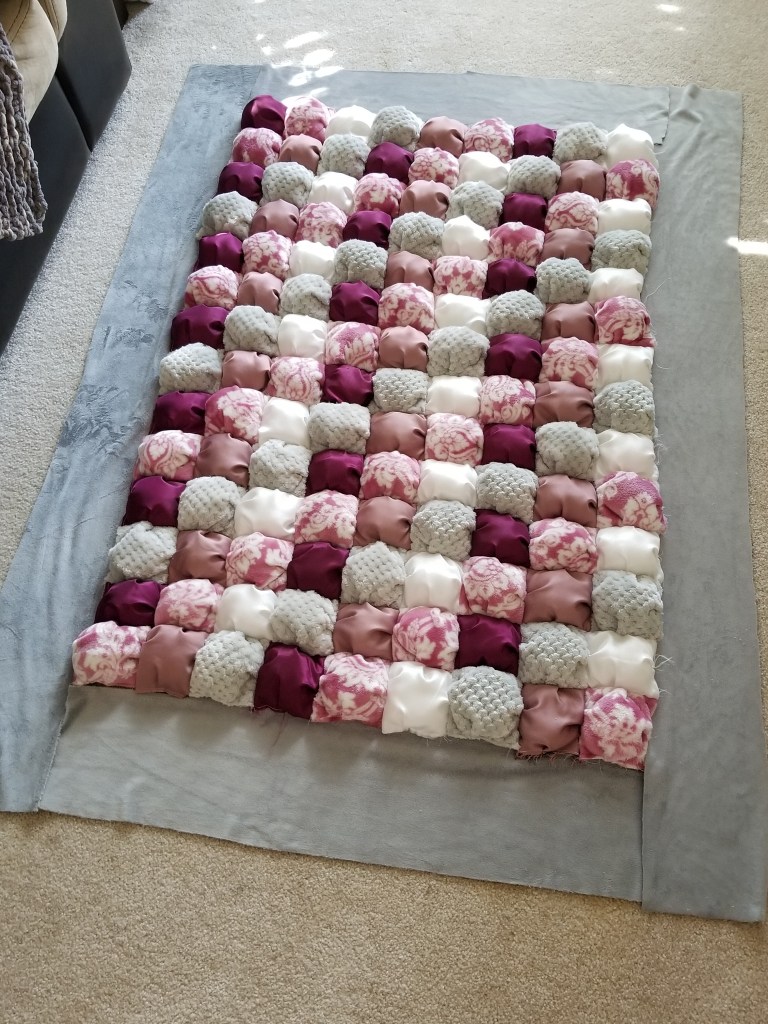
STEP 3- SEW PUFFS TOGETHER – Start sewing those cute little puffers together to form your beautiful quilt.
STEP 4 – THE BORDER – I used a minky fabric for my border. Measure it out and surround your quilt with the fabric. You choose the width you would like!
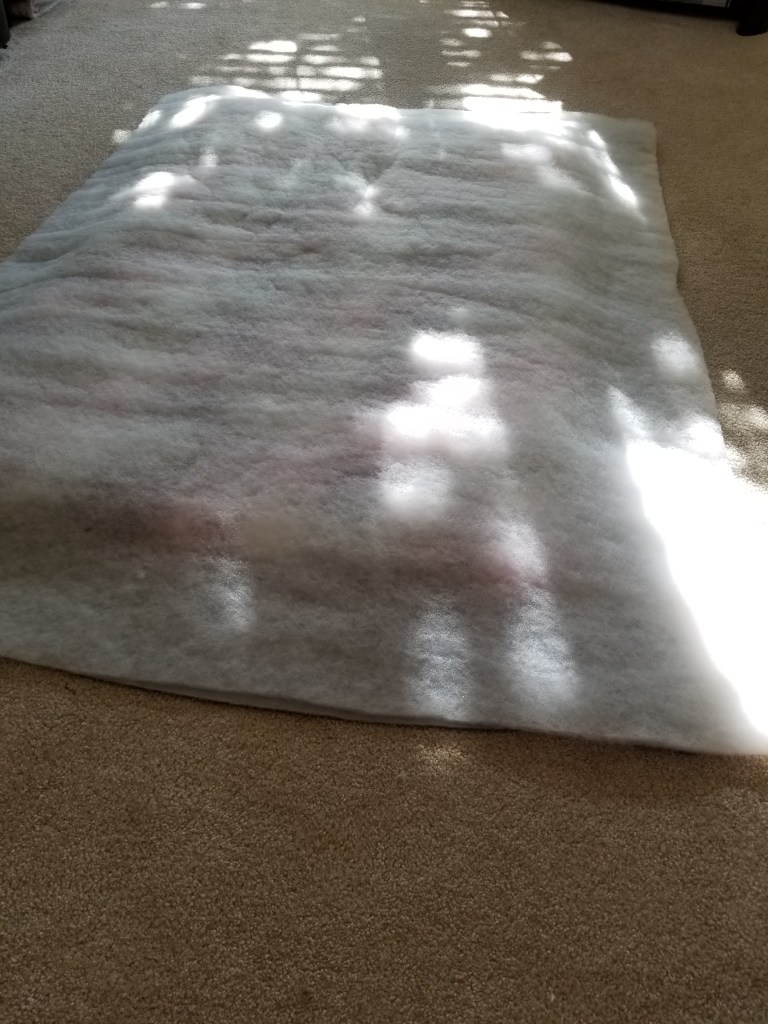
STEP 5 – BATTING – After the border was attached I measured out my quilt batting. Yes, your puffs will make a cushiony blanket on their own, but adding a thin layer of quilt batting gives it an extra layer of warmth and cushion.
STEP 6 – SEW ON BACKING – I used the same grey minky as my border for the backing of my quilt. Make sure you are sewing the batting to the border of your blanket as well so that it doesn’t move when you flip it inside out!
STEP 7 – SEW AROUND EDGE – I sewed a stitch around the whole border of my blanket so that it looked same all the way around. This also makes it so you don’t notice where you closed the blanket from the outside,
There you have it! Easy-peesy puff quilt.

** Amazon links are affiliate links. I will get compensated for purchases made through them. This helps so that I can continue to grow my blog and create high quality content for all of you!

2 thoughts on “Baby Puff Quilt”