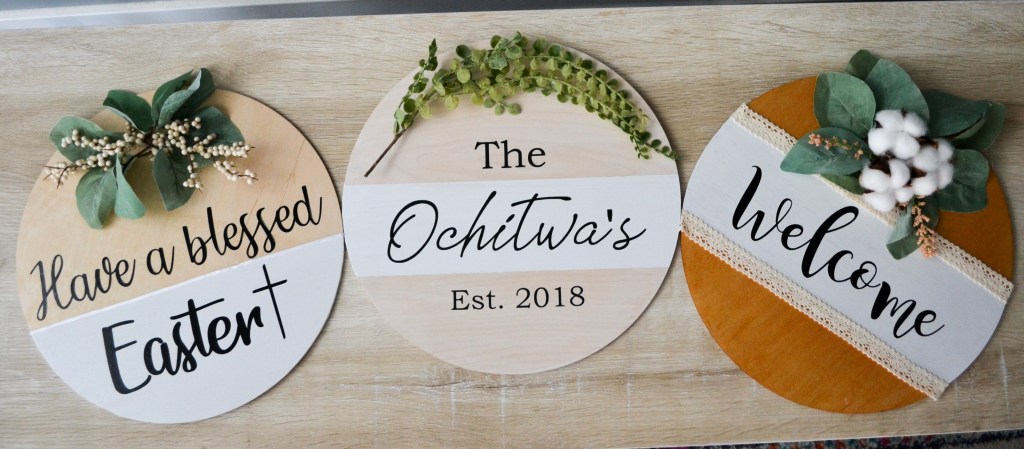
These beautiful signs can replace wreathes, be art on your walls and are great seasonal decor items. This has been something that I have seen a lot of lately in the various crafting blogs and pages I follow and I LOVE IT. I love anything involving wood and the Silhouette! There are so many types of signs you can make. I am also loving the crisp white decor vibes that are trending right now, so I had to add those into each of these signs.
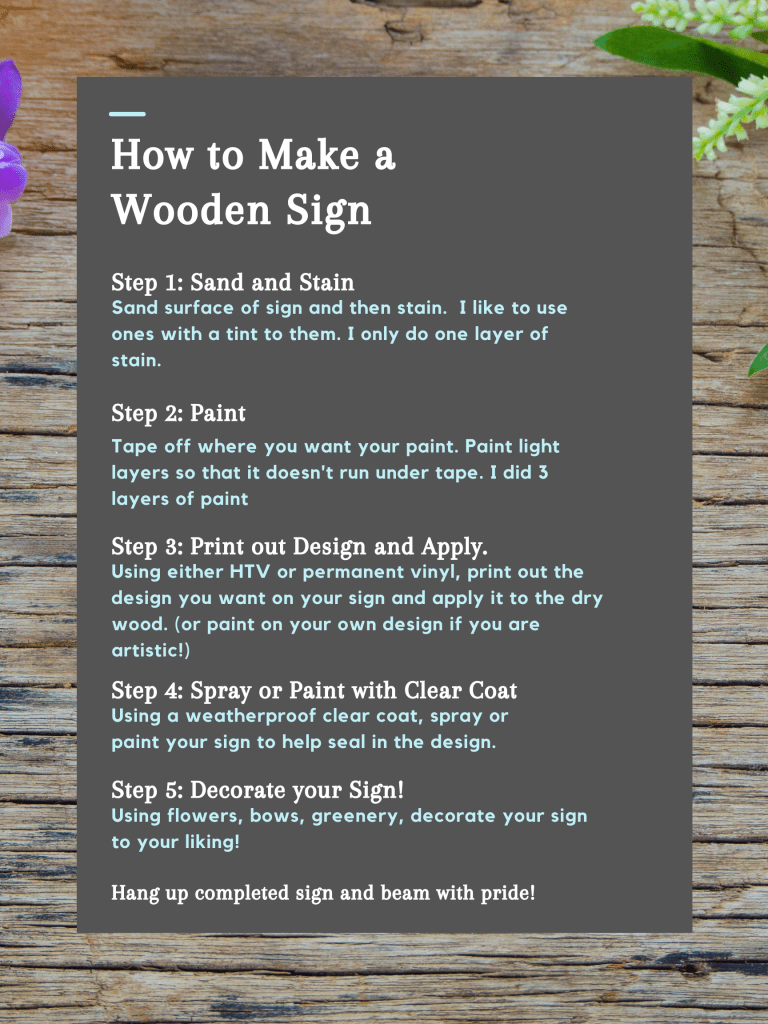
Time to Make: A day – just to give yourself drying time for the paint. Assembly and painting only took around 30 mins. total.
Materials used:
- Wooden Round
- Vinyl – Heat Transfer Vinyl for the Ochitwa Sign, Permanent Vinyl for the Easter and Welcome Sign – check out my blog about Permanent Vinyl Vs. Heat Transfer on wood to learn more.
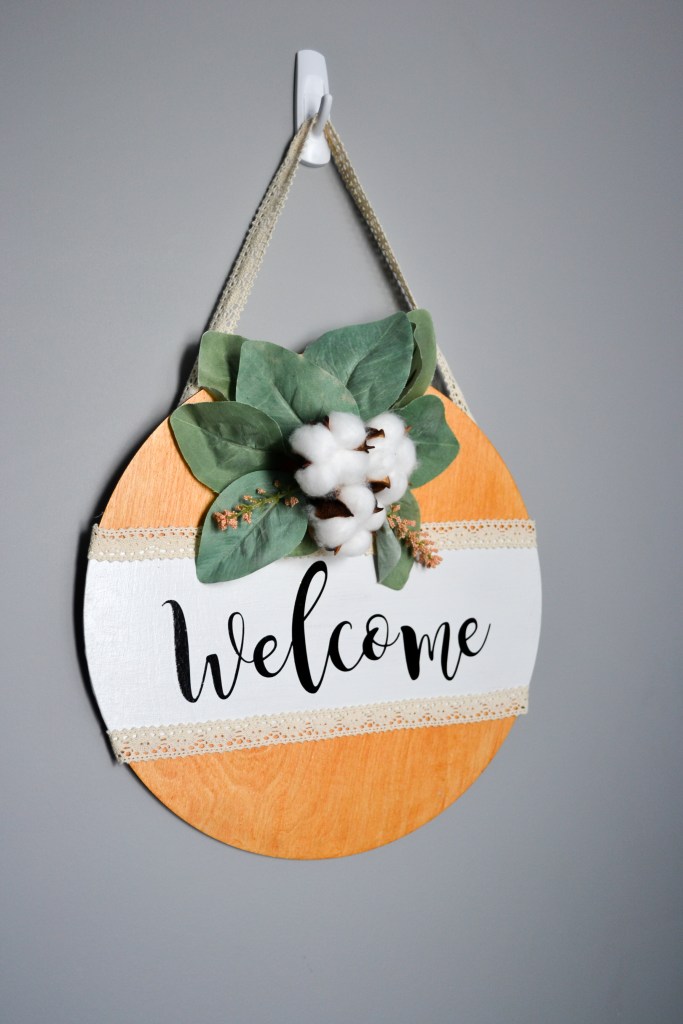
- Wood Stain – I used this white tint for the Ochitwa sign and this cedar tint for the Welcome sign.
- White Linen Chalk Paint for the white strips on each round
- Rustoleum Clear Coat
- Painters Tape
- Lace, ribbon or string
- Greenery
- Hot Glue Gun to attach greenery and lace
The wooden rounds that I have purchased are very thin. I like this because they aren’t as heavy to hang, but the one downside is I can’t put screws or nails in the back. However, hot glue works great to attach string or lace. I also ordered command hook stickies to hang the rounds so that you don’t see any hooks.
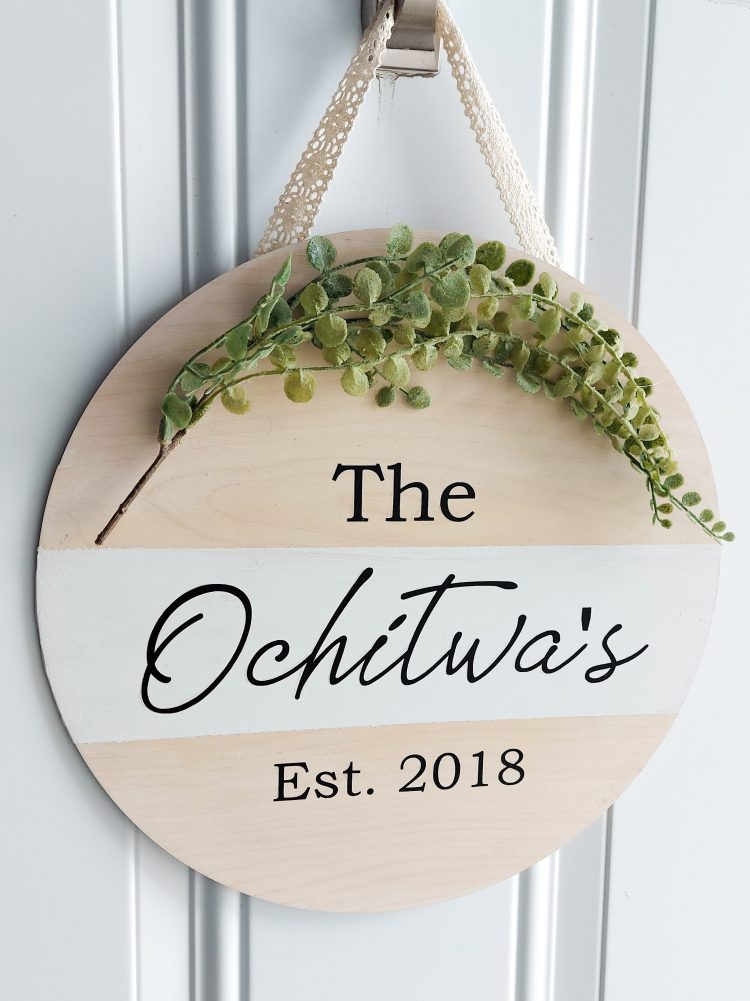
The first one I made was The Ochitwa’s sign. I have always wanted to do a project with our name and make something to display. I am very happy with how this turned out. The Easter and Welcome signs I did right after, and tweaked a few things based on what I learned from my first sign.
The vinyl used on The Ochitwa sign is made from heat transfer vinyl and on the Welcome and Easter sign I used permanent 651 vinyl. There are pros and cons to using each.
The one aspect that people may not think about at the beginning when making signs is the font. There are so many amazing fonts to use. You can find thousands of free fonts for personal use online but it is important to note that if you wish to create signs to sell you must purchase a commercial license for the font.
Overall I was very happy with how these signs turned out! Normally I can’t make something look this good on my first try.
I did forget to spray a clear coat on my Ochitwa sign before adding all the greenery (I was too excited!) so that’s why it has more of a matte look but, it also shows a bit more flaws from my heat transfer because of this.
I will definitely be making more signs soon! I want to try and make some using stencils to paint. We will see how that turns out in comparison.
Happy crafting!

** Amazon links are affiliate links. I will get compensated for purchases made through them. This helps so that I can continue to grow my blog and create high quality content for all of you!

2 thoughts on “Wooden Round Signs”