
This has been a long process to transform our guest bedroom into Laurel’s toddler haven, but it is finally done! (with the exception of a couple small items).
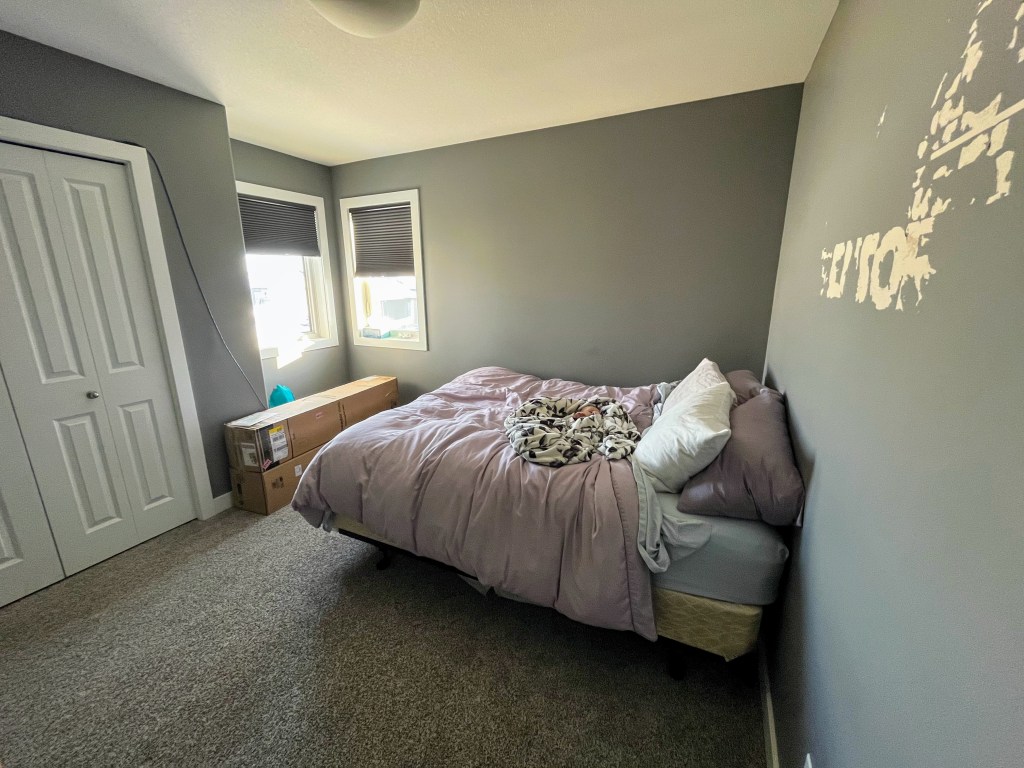
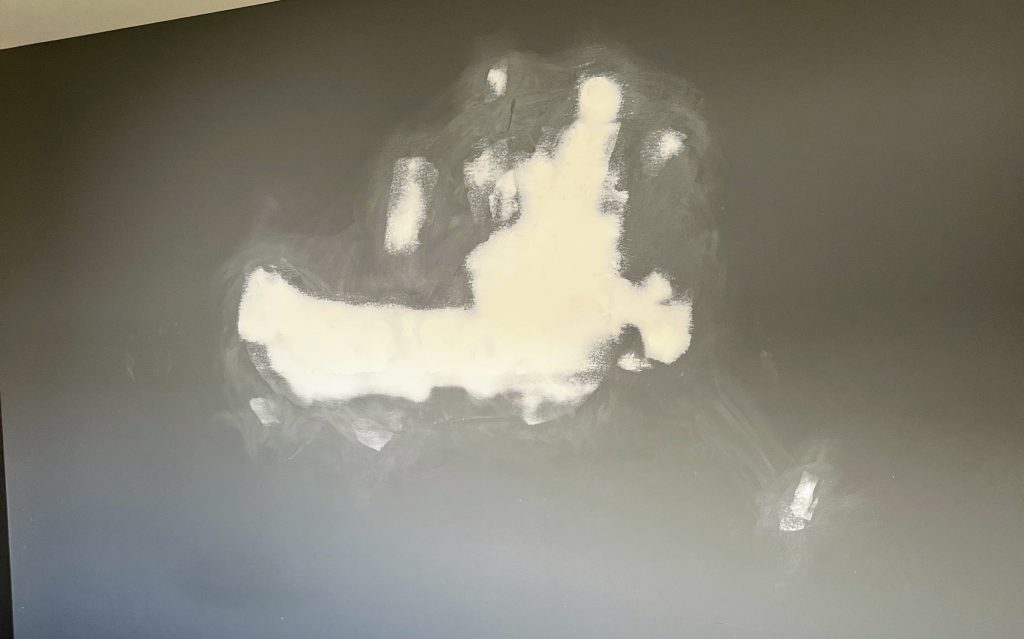
When we bought our house, the previous owners had a giant mural with their child’s name on the wall and when we went to remove it, a thin layer of dry wall peeled off with it. We left the wall for a year and a half, as we had siblings and family living with us on and off during that time and that was the guest bedroom. But ever since our second child Eleanora (Ellie) came into the picture, I knew I wanted to fix up the wall and turn the room into a fun, safe space for Laurel, as she needed to move out of the crib so Ellie could move in to the baby room. Thank goodness for my Father-in-law who knows how to mud and fix walls!! It just took me a year and a half to finally tackle the room and convert it into a toddler bedroom for our eldest daughter, Laurel, but the end result has me (and thankfully Laurel) very pleased!!
Read on to see all the items I used to change Laurel’s room into the sweetest little girl haven!
Before Pictures of the Bedroom


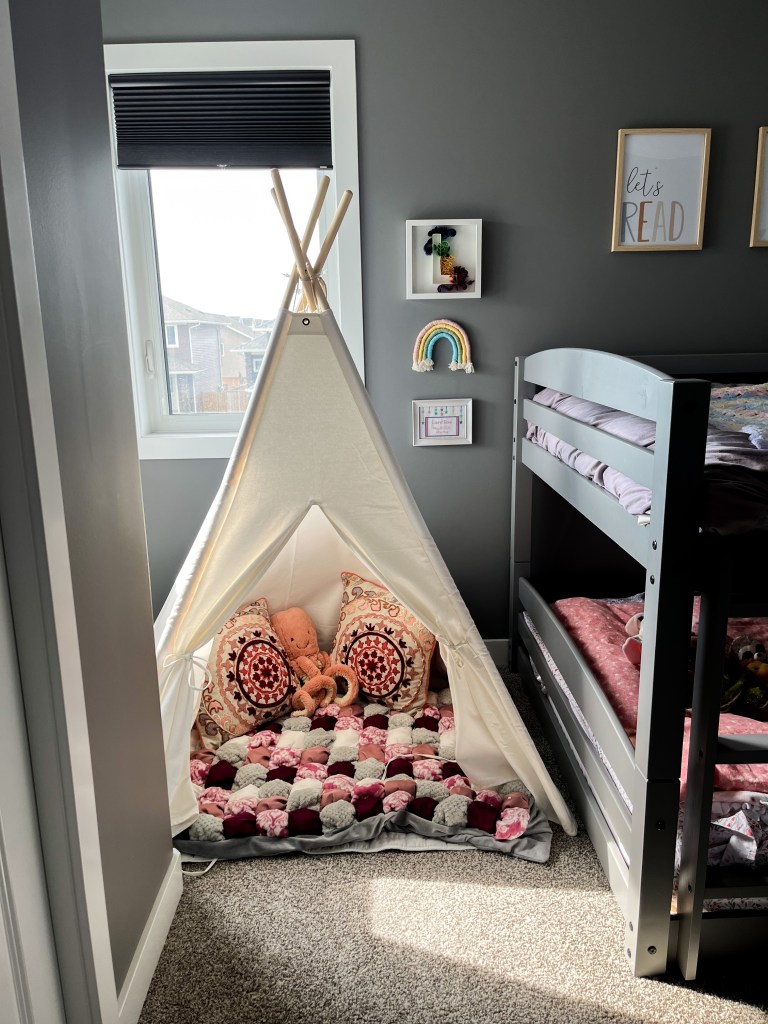
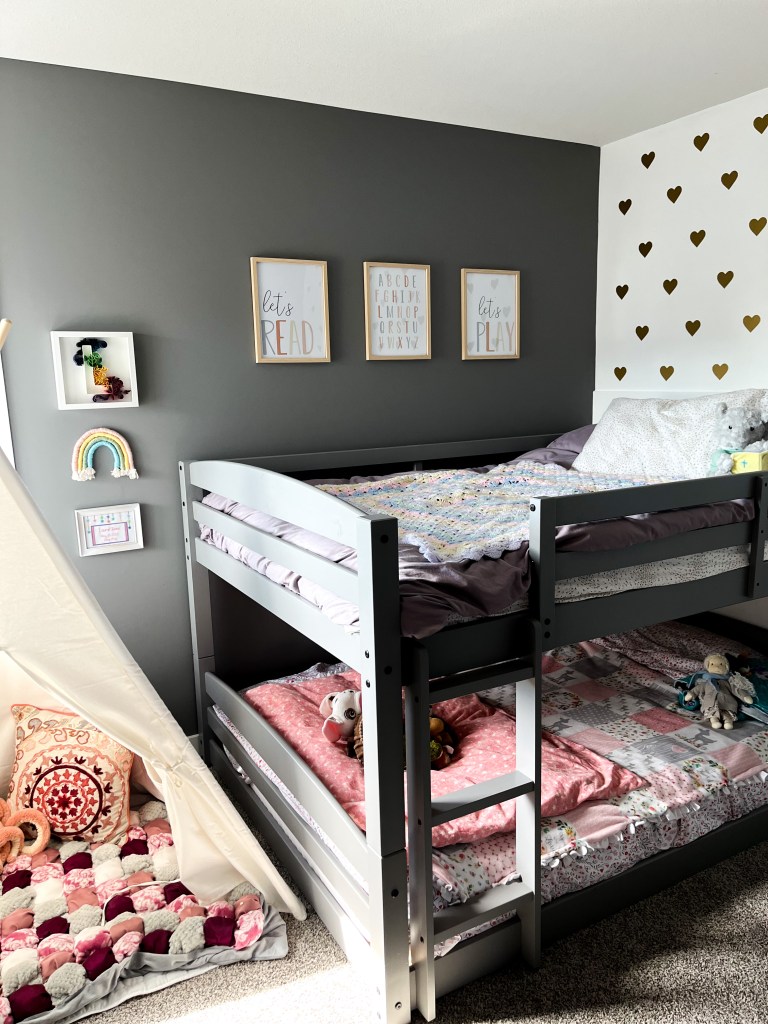
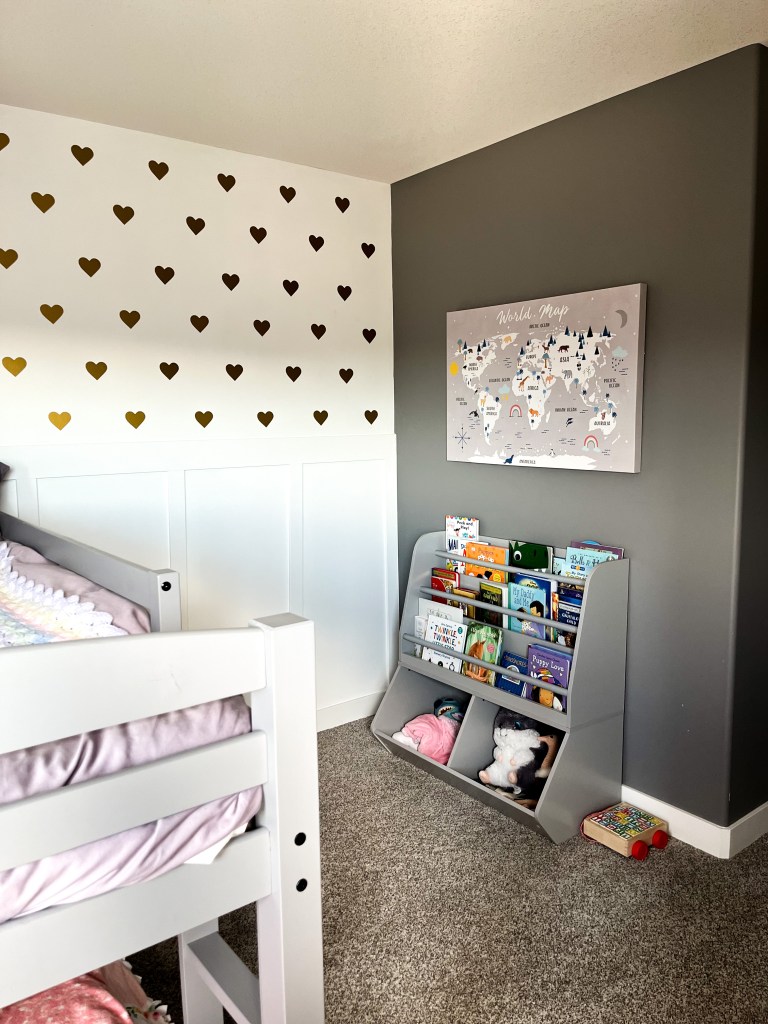
After Pictures!!
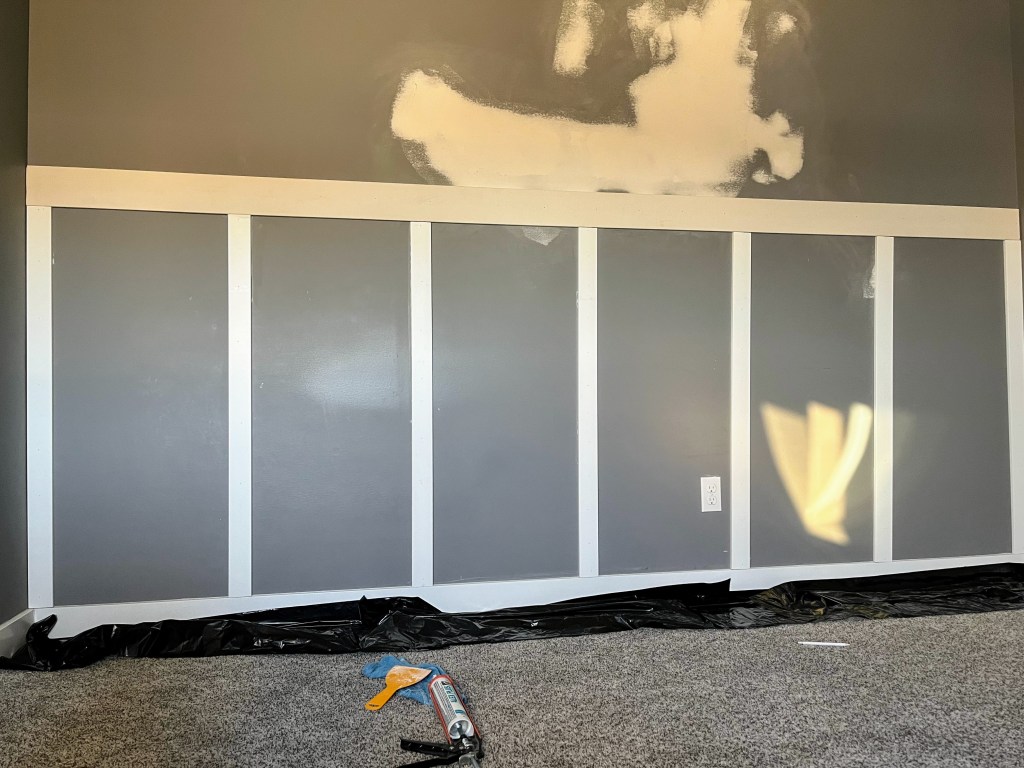
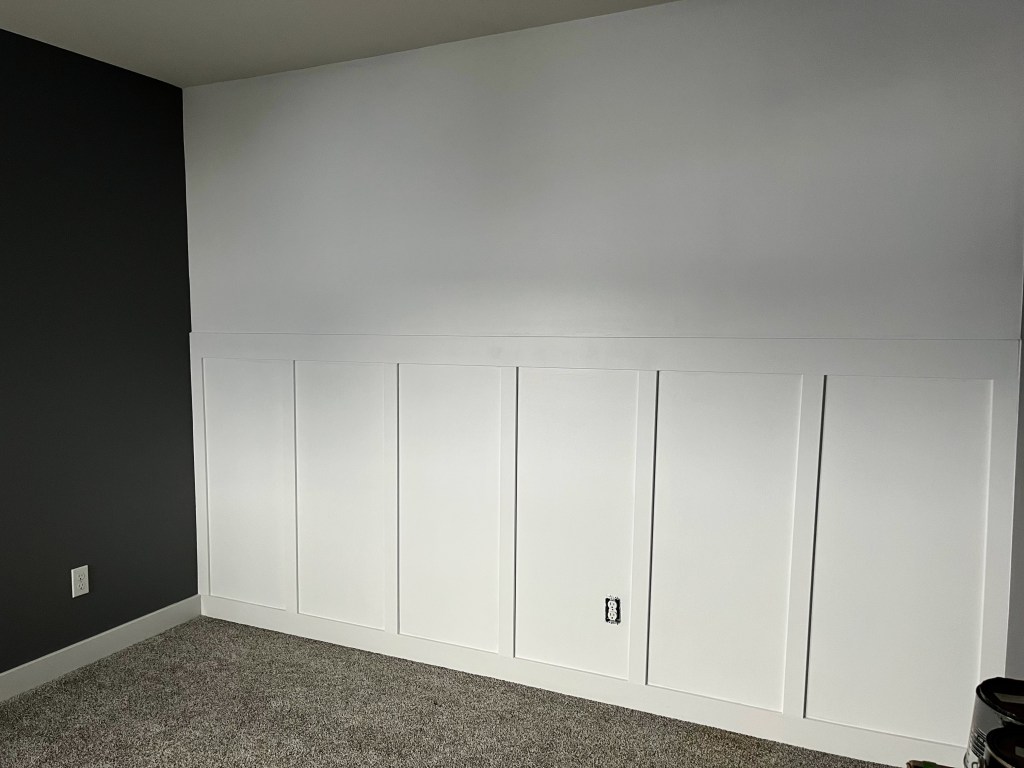
Board and Batten Wall
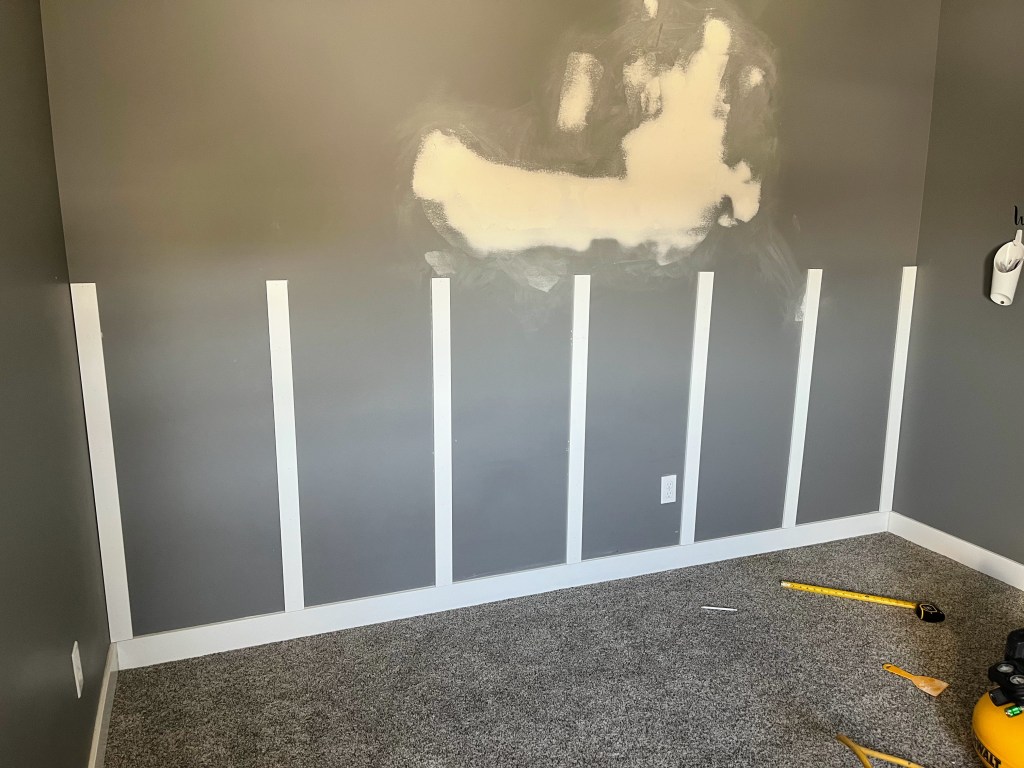
Step 1 – Mud and Sand wall
The wall was the biggest undertaking for this toddler room. I always loved seeing bedrooms with the board and batten so I did my research for a month and read up on several blogs and finally felt confident enough to try it! Before I put up the boards though, my father-in-law fixed up the ripped dry wall by mudding and sanding first. Thank goodness for handy family members to help me and teach me!
Step 2 – Apply Boards
There were two different blogs that I read that helped me with how to do this. The one that was most useful was actually the Home Depot blog. It has a list of all the materials and steps to create an easy DIY board and batten wall. If you are interested in doing a board and batten wall I recommend you check out the Home Depot steps to build one.
Home Depot Board and Batten Steps
The other great resource I found was by Angela Marie Made and she has really great YouTube video on how to make a board and batten wall. Here is the video.
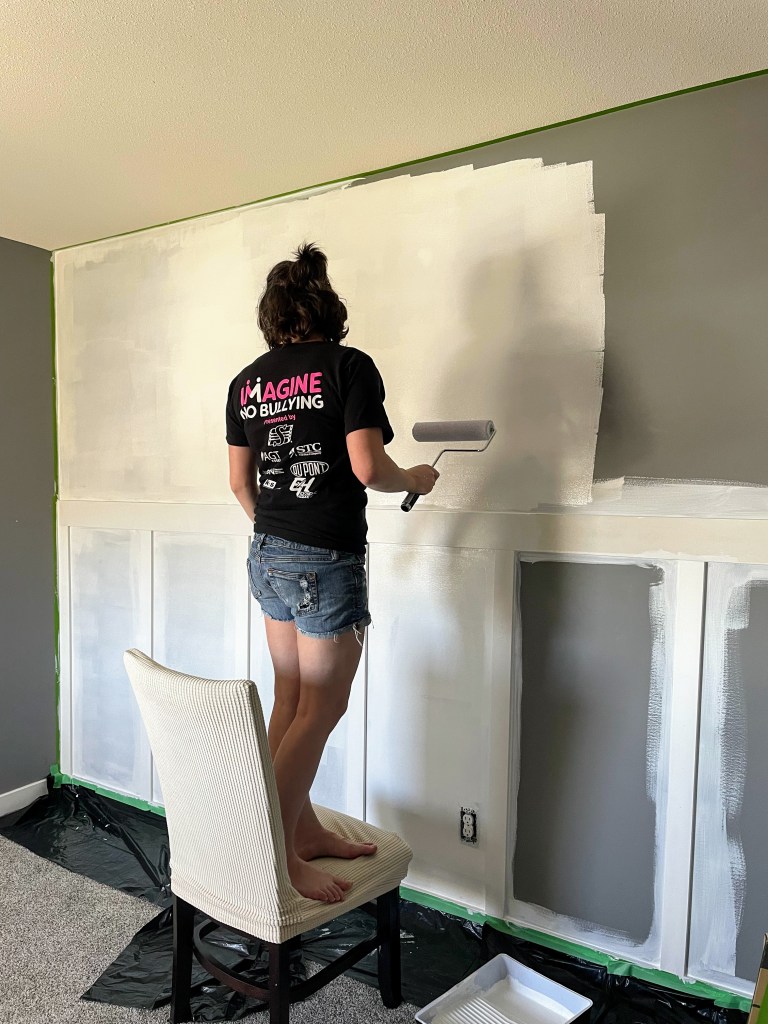
Step 3 – Paint! After applying the wooden boards I painted the wall first with 2 coats of primer and then 2 coats of this white paint. Check out my photo below to see what Primer and Paint I used.


Heart Decals

I wanted to add a wall paper originally to the top half of the board and batten wall but after researching I was discouraged by the price of the ones I actually thought were nice.
So instead, I employed my Sihouette!
- I bought one 5 ft. roll of gold removable vinyl at Michaels for $13!!! and it was the perfect amount for all the hearts I applied to the wall.
- I measured out the 2 bottom rows of hearts first and applied them and then used a 3 foot long board to help me measure out where all the hearts would go on the wall.
- I marked on the board the height of each heart so that I could line it up and place it perfectly above the bottom rows.
If you are wanting more information on the Silhouette, check out my blog post about why it’s one of my favourite crafting tools.
Furniture and Decor
- I love this bed because it is a floor bed on the bottom bunk.
- It was a very easy transition for my daughter when we moved her out of the crib at 1 year and 9 months old.
- The bunk bed is a double mattress which is awesome. The girls will be able to use the beds for a long time.
- I also love that the bunk bed can be separated into two separate beds if we choose to do that in the future.
- The one downside that I have about the bed is that because it is a floor bunk, Laurel sometimes bumps her head on the top bunk getting in and out of the bed. Nothing major but it would be nice to have the option to raise the bed up higher when she is older.
Bookcase with Toy Bin – So far I love this purchase! Great way to store books and toys in the room. Just make sure you anchor it into the wall so that it can’t tip over. It comes with all the hardware to anchor it.

Let’s Read, Let’s Play and Alphabet Posters – I purchased these posters off of Etsy and then printed them online through Walmart. It is a bit cheaper than other online sites and then you just have to pick up when it is ready.
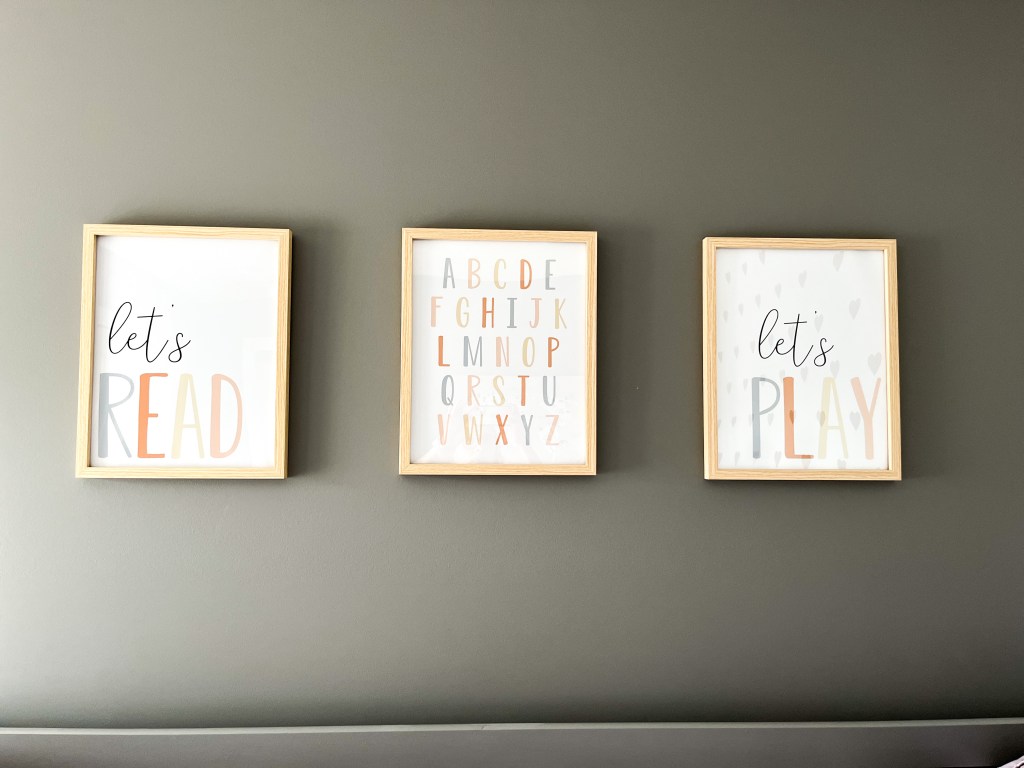
Frames for Posters – These are from Amazon. They are actually a faux plastic wood frame and come in a pack of 2. It is also a clear plastic, instead of glass in the frame, which I prefer for a kids room. I love how they look!
Tent – This has already gotten so much use since Christmas! It is a good size for multiple kids to enjoy at the same time. Comes with a white mat to go underneath and twinkle lights to string up on it. The pillows in the tent were found at Bed Bath and Beyond in their sale section a couple years ago.

The Solar System Decals – Laurel has been super interested in space recently so I filled the underside of the top bunk with glow in the dark stars and planets! We go through the order of planets before she goes to sleep each night.

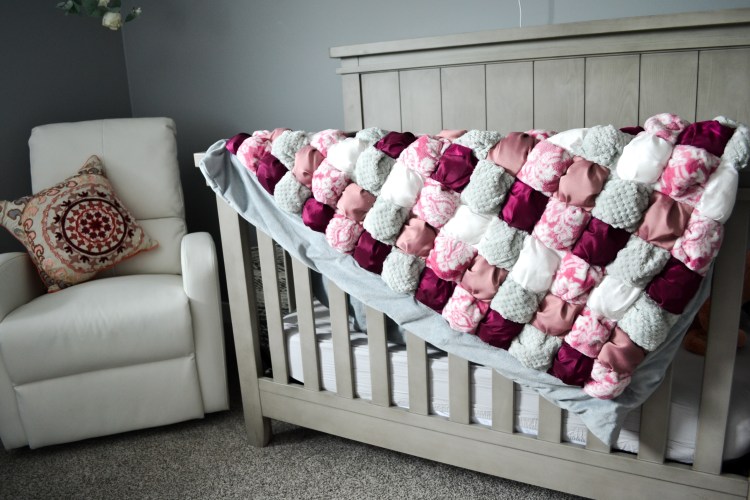
The Puff Quilt – The puff blanket in the tent was something I made a few years before I had kids. I am not a sewer, but was a pretty easy project to complete.
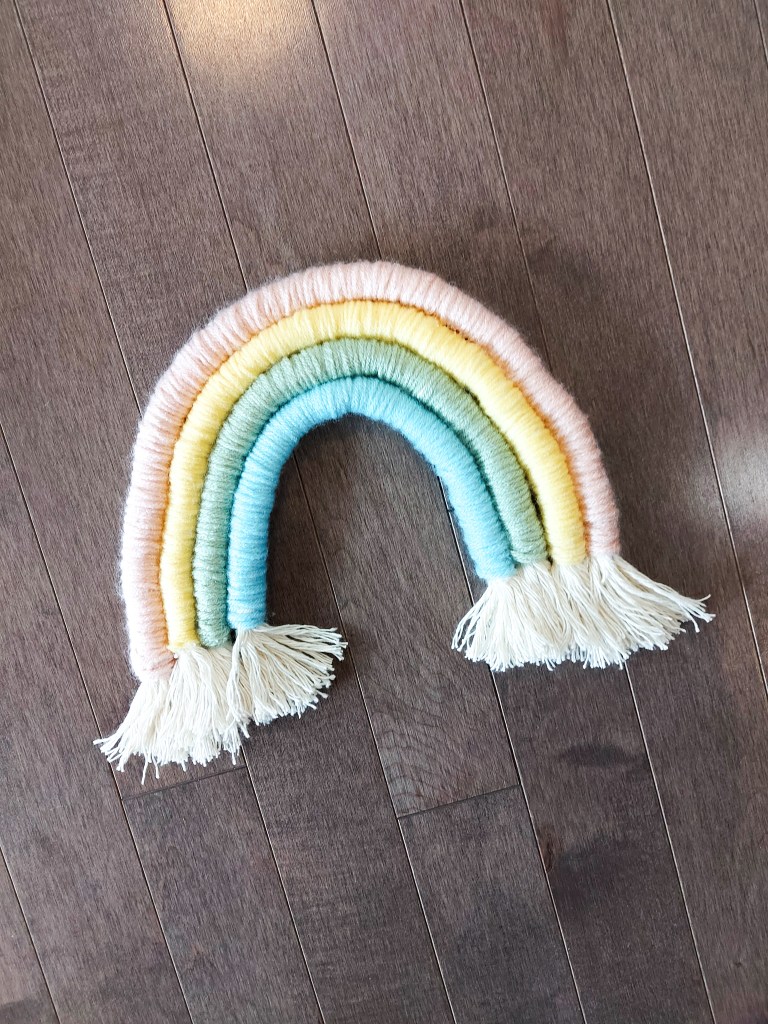
The Macramé Rainbow – This was another project I made. It is very easy to follow and you only need a few supplies!
The other blankets and art were homemade by family members and gifted to Laurel when she was born. I am so lucky to be a part of a crafty, thoughtful family!
There are still somethings I would like to add in the entry of the room but for now I am so in love with this space! Laurel loves to play and look at books in her room and had a very easy time transitioning from her crib into her big girl bed!
It was definitely a labor of love to put together this room but it makes me so happy to walk into it every day!! It was my first time painting a wall and doing a wood project and I am so happy with both! There are definitely some imperfections but it has shown me that I am capable of learning new things and taking on projects while I have two little ones running around. I am already thinking about ways I can improve other rooms in our house!


Thank you so much for sharing these tips! I am planning to paint my room and don’t know how to start it!
LikeLike